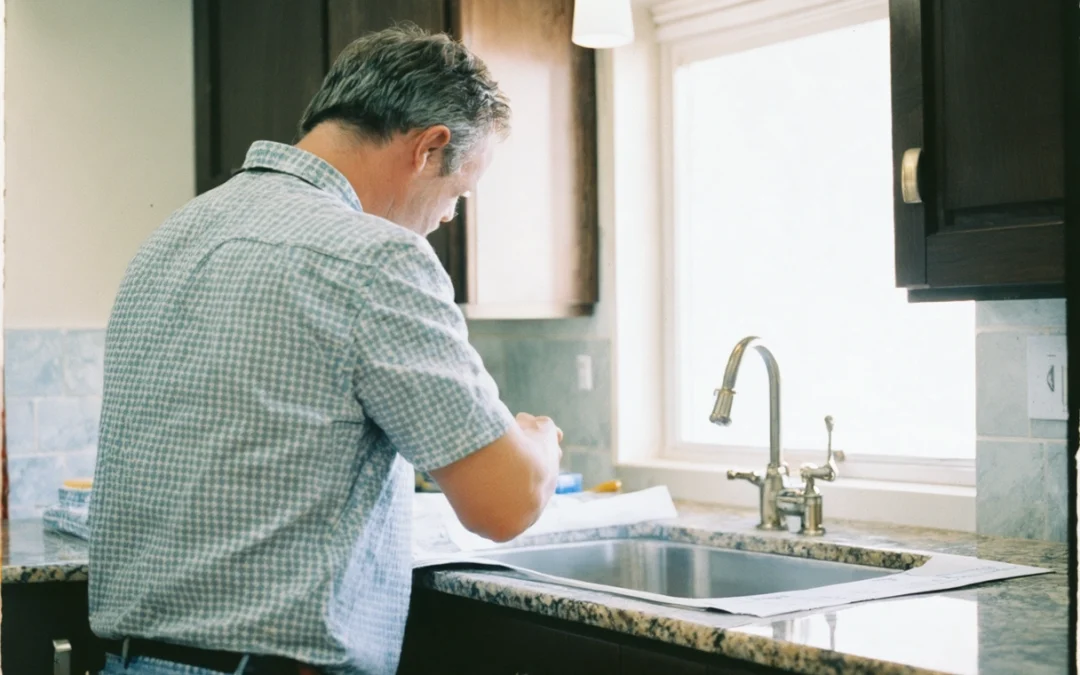
Backsplash Installation Mistakes to Avoid: Tips from the Experts at Floor Medix
Installing a backsplash is one of the most transformative updates you can make in a kitchen or bathroom. It adds a layer of style, personality, and practical protection to your walls. However, as straightforward as it may seem, backsplash installation is riddled with potential pitfalls that can turn a dream project into a nightmare. At Floor Medix, our experts have seen it all—from uneven tiles and mismatched grout to moisture issues and adhesive disasters. In this comprehensive guide, we’ll walk you through the most common backsplash installation mistakes to avoid, offering professional tips and insights every step of the way. Whether you’re a DIY enthusiast or considering hiring a pro, you’ll be well-equipped to achieve flawless results.
This article covers everything from planning and material selection to the final touches, ensuring your backsplash not only looks stunning but stands the test of time. Let’s dive in and explore what it takes to get your backsplash installation right the first time.
Improper Surface Preparation
One of the most overlooked yet critical steps in backsplash installation is preparing the surface. Many homeowners make the mistake of applying tiles directly over dirty, uneven, or glossy surfaces, which can compromise adhesion and result in tiles falling off over time. Proper surface preparation is the foundation of any successful tile installation.
To avoid this mistake, start by cleaning the wall thoroughly with a degreaser to remove any residue, especially in kitchens where grease is common. Next, repair any dents or holes with a patching compound and sand the surface to ensure a smooth, even finish. If you’re working with a glossy wall, lightly sand it to roughen the surface, allowing adhesives to grip better. For a deep dive into the importance of surface preparation, refer to this comprehensive surface preparation guide from the Tile Council of North America.
Choosing the Wrong Materials

Not all tiles, adhesives, or grouts are created equal. Selecting the wrong combination can lead to cracking, discoloration, or even water damage. For example, using mastic adhesive in areas exposed to moisture, like behind sinks, can result in eventual breakdown and failure. Additionally, not all tiles are suitable for high-moisture environments, which can lead to mold and mildew issues.
Always select tiles and adhesives specifically rated for your intended application. Cement-based thinset is often recommended for kitchen backsplashes due to its durability and moisture resistance. When choosing grout, consider whether sanded or unsanded grout is appropriate for your tile size. For an in-depth look at choosing the right materials, check out this expert resource on selecting tile adhesives and grouts.
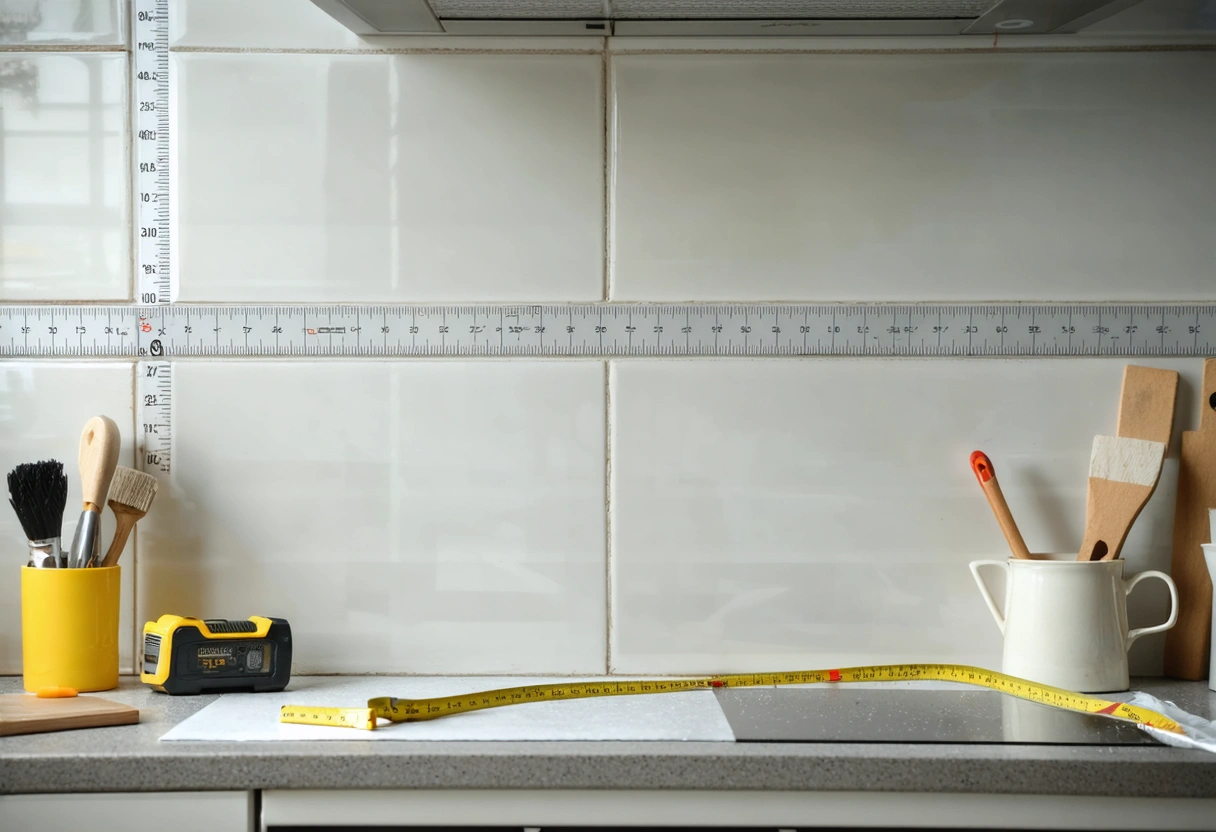
Skipping Layout Planning
Backsplash installation requires careful planning and precise layout. A common mistake is to start tiling without dry-laying the tiles or marking guidelines. This can result in awkward tile cuts, uneven lines, and a visually unbalanced installation, especially around outlets or in corners.
Before you begin, measure your space and use a level to draw reference lines on the wall. Dry-lay the tiles on a flat surface to determine the best arrangement, making adjustments for focal points or decorative inserts. This step is crucial for ensuring that you don’t end up with slivers of tile at edges or corners, which look unprofessional and can be difficult to install. For more tips on layout planning, explore this detailed tutorial on how to properly lay out a backsplash.
Neglecting to Accommodate Outlets and Fixtures
Electrical outlets, switches, and plumbing fixtures are inevitable obstacles in backsplash projects. Failing to properly plan for these can result in poorly cut tiles, unsightly gaps, or even unsafe installations. It’s essential to measure and mark the locations of all fixtures before you start tiling.
Use a tile cutter or a rotary tool to create precise openings for outlets and fixtures, ensuring a snug fit. Always turn off the power before working around electrical outlets and consider using outlet extenders to bring the outlets flush with the new tile surface. For safety guidelines and additional information, reference the National Fire Protection Association’s electrical safety tips.
Incorrect Adhesive Application
How you apply adhesive can make or break your backsplash installation. Applying too much or too little adhesive, or using the wrong trowel size, can lead to tiles not adhering properly. This can cause tiles to shift, sag, or even pop off the wall over time.
Follow the manufacturer’s instructions for mixing and applying adhesive. Use the correct notched trowel size for your tile, and apply adhesive evenly to the wall—not to the tile—unless otherwise specified. Press tiles firmly into place with a slight twisting motion, and periodically check that you’re maintaining consistent coverage and depth. For best results, refer to this step-by-step guide on applying thinset adhesive.
Poor Tile Cutting and Sizing
Sloppy cuts and uneven tile sizes are telltale signs of a rushed backsplash installation. Tiles that are chipped, cracked, or improperly measured lead to unsightly gaps and an unprofessional finish. It’s crucial to use the right tools and techniques for cutting tiles, especially when working with glass or intricate mosaic patterns.
Invest in a high-quality wet saw or tile cutter suitable for your tile type. Always measure twice before cutting, and use a pencil or washable marker to outline cuts. Practice on spare tiles before tackling highly visible areas. If you’re cutting around outlets or fixtures, use a tile nipper or rotary tool for precision. Remember, patience and accuracy are key for a seamless installation.
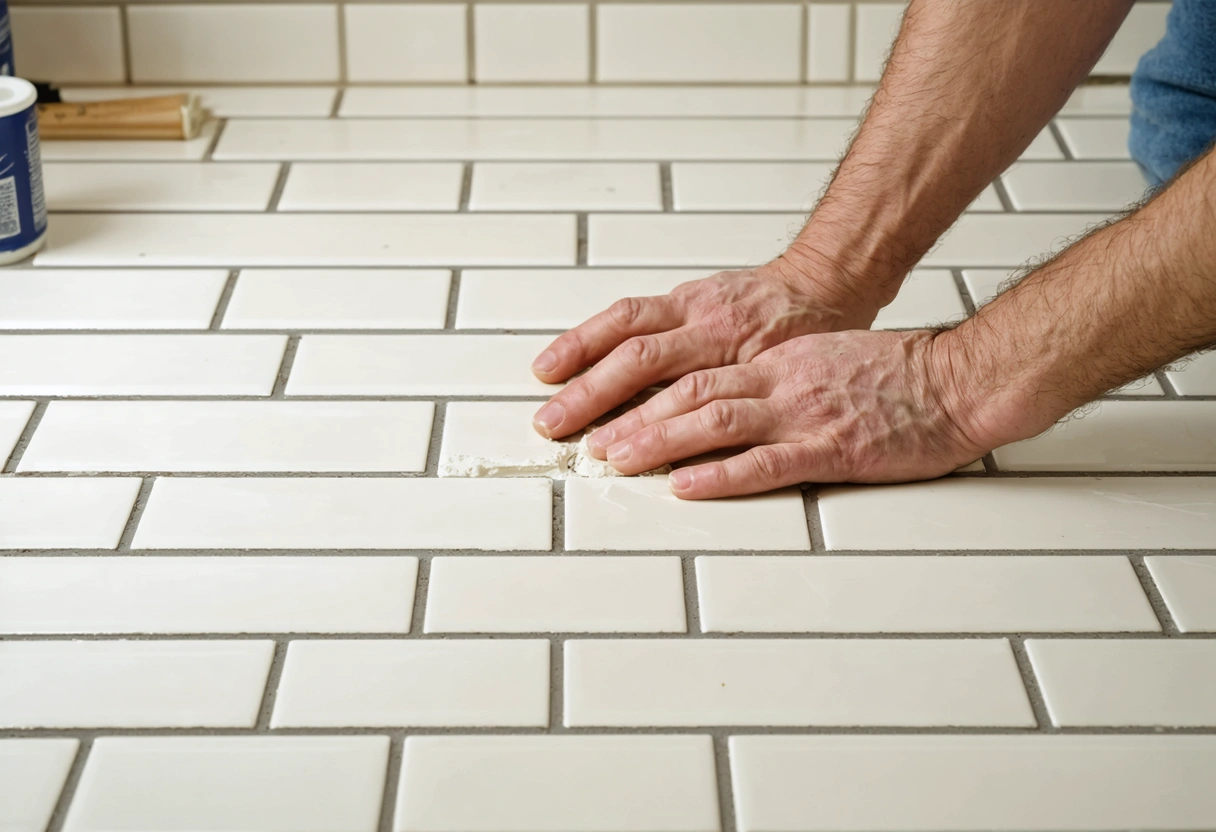
Failing to Use Tile Spacers
Tile spacers ensure consistent grout lines and a symmetrical appearance. Skipping this step can result in uneven gaps, making your backsplash look amateurish. Worse, inconsistent spacing can compromise grout adhesion, leading to cracks and premature failure.
Choose spacers that match the desired width of your grout lines, typically 1/16 to 1/8 inch for most backsplash installations. Place spacers at every corner and along the sides of each tile. Remove them before the adhesive fully sets to avoid trapping them in the grout. The use of spacers is especially important when working with larger format or handmade tiles, which may have slight size variations.
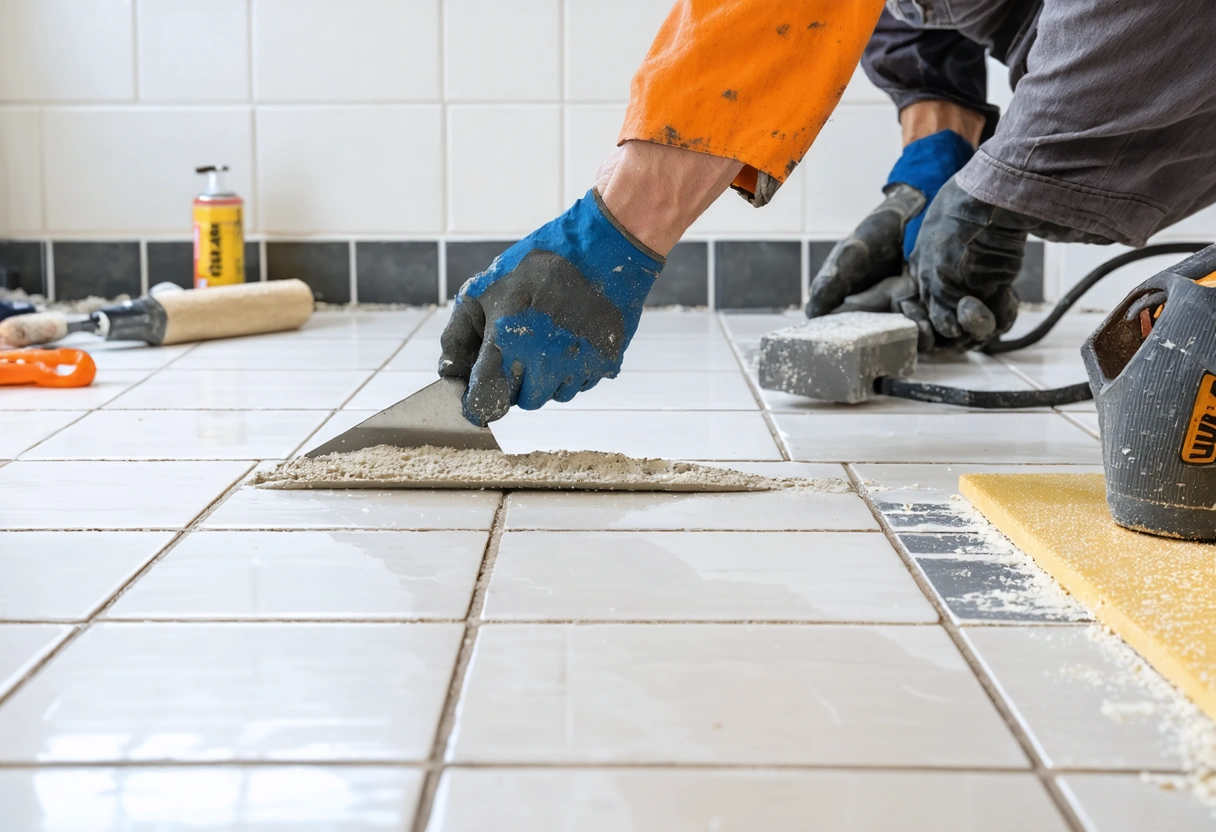
Rushing the Grouting Process
Grouting might seem like the final, easy step, but it’s where many installations go awry. Rushing through grouting, failing to clean excess grout, or not allowing proper curing time can all mar your finished backsplash.
Mix grout according to the manufacturer’s instructions, and apply it using a rubber float at a 45-degree angle. Press grout firmly into the joints and wipe away excess with a damp sponge before it dries on the tile surface. Allow the grout to cure fully, which can take up to 72 hours, before exposing it to water or cleaning. For best practices, consult this in-depth guide on how to grout tile correctly.
Ignoring Expansion Joints and Caulking
Many DIYers neglect to include expansion joints or use caulk at the edges where the backsplash meets countertops, cabinets, or other surfaces. Omitting this step can result in cracked grout or tiles as materials expand and contract due to temperature and humidity changes.
Use a high-quality, mold-resistant silicone caulk in these areas to accommodate movement and prevent moisture intrusion. Expansion joints are especially important for larger installations or when transitioning between different materials. Regularly inspect and replace caulk as needed to maintain a watertight seal and protect your investment.
Improper Cleaning and Maintenance Post-Installation
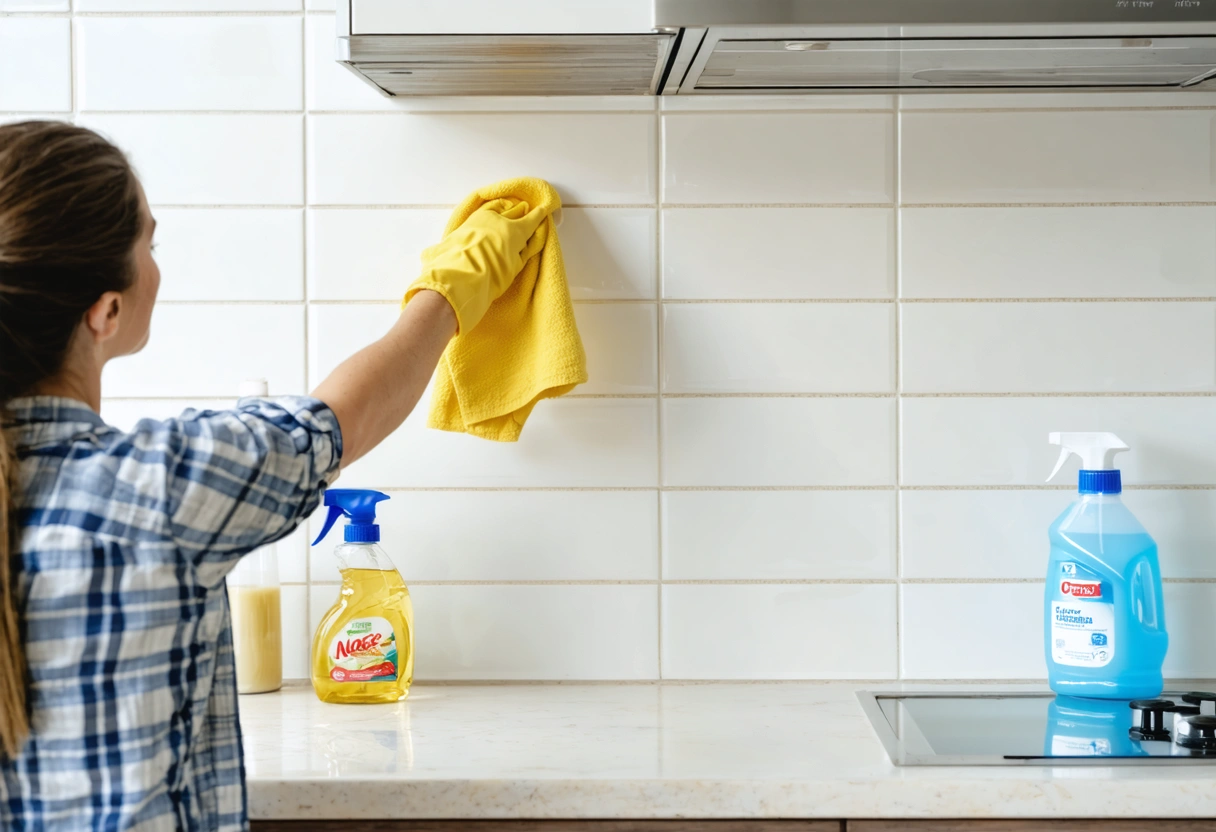
Once your beautiful backsplash is installed, it’s essential to maintain it properly. Using harsh chemicals, abrasive pads, or failing to seal porous tiles and grout can lead to staining, discoloration, and long-term damage.
Use gentle, pH-neutral cleaners designed for tile surfaces, and avoid anything that could scratch or dull the finish. If you’ve installed natural stone or unglazed tiles, apply a penetrating sealer to protect against moisture and stains. Reapply sealant as recommended to keep your backsplash looking new. For more information on maintaining your tile surfaces, visit this trusted resource on cleaning and caring for a tile backsplash.
Achieve Flawless Results with Expert Guidance
Backsplash installation is a rewarding project that adds both beauty and functionality to your home, but it demands careful planning, attention to detail, and the right techniques. By avoiding these common mistakes and following expert tips from Floor Medix, you can ensure your backsplash stands out for all the right reasons. Remember, success starts with proper preparation and material selection, continues with precise installation practices, and is maintained through diligent care.
If you ever feel unsure, don’t hesitate to consult with professionals or refer to trusted industry resources. Investing a little more time and effort upfront will save you from costly repairs and disappointments down the road. Whether you’re a seasoned DIYer or a first-time renovator, these expert-backed strategies will help you achieve a flawless, long-lasting backsplash that enhances your space for years to come.
Need help with Backsplash Installation Mistakes to Avoid: Tips from the Experts at Floor Medix?