
Understanding the Process: What to Expect During a Backsplash Installation
The kitchen and bathroom are two of the most frequently used spaces in any home, and the installation of a backsplash can transform these areas, adding both visual appeal and functional benefits. However, for many homeowners, the process of installing a backsplash can seem daunting. In this comprehensive guide, we’ll walk you through everything you need to know about backsplash installation, from planning and preparation to execution and finishing touches.
Introduction to Backsplash Installation
A backsplash serves multiple purposes. It protects your walls from water damage, stains, and grease while providing an opportunity to enhance the aesthetic appeal of your space. The installation process can vary depending on the materials used, the complexity of the design, and whether you’re doing it yourself or hiring a professional. Understanding each step of the process can help you make informed decisions and ensure a smooth installation experience.
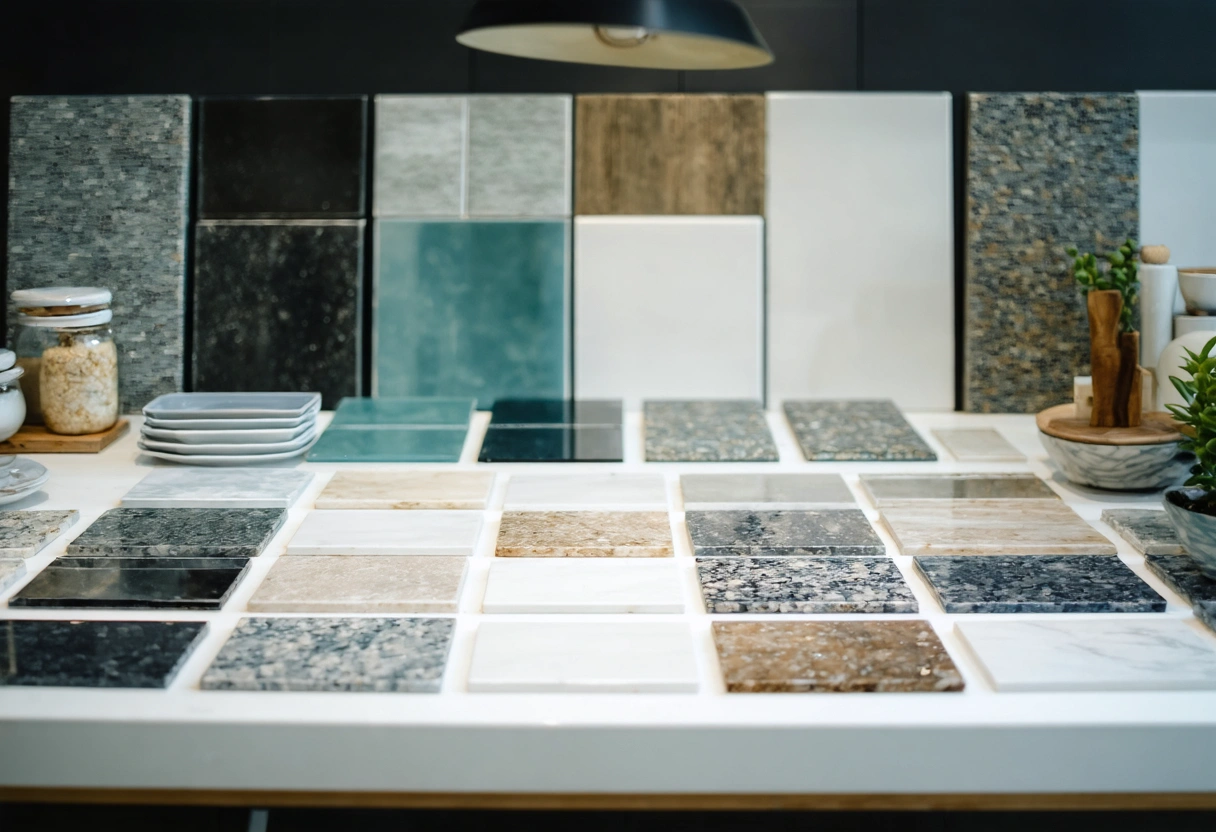
Before diving into the installation process, it’s essential to select the right type of backsplash material for your needs. Popular options include ceramic tile, glass, stone, and metal. Each material has its own advantages and considerations. For example, ceramic tiles are cost-effective and available in various styles, while glass tiles offer a sleek, modern look but may require additional care during installation. Stone tiles, such as marble or granite, provide a natural and elegant appearance but often come with a higher price tag.
Planning Your Backsplash Installation
The planning phase is crucial for a successful backsplash installation. Start by measuring the area where the backsplash will be installed. Accurate measurements will help you determine the amount of material needed and reduce waste. It’s also important to consider the layout and design of the tiles. HGTV provides inspiration for different layout patterns, such as herringbone, subway, and diagonal, which can add a unique touch to your space.
Next, gather all the necessary tools and materials. Common tools include a tile cutter, notched trowel, level, spacers, and grout float. Depending on the material, you may also need specific adhesives or sealants. Having everything ready before you start will save time and reduce stress during the installation process.
It’s also wise to prepare the surface where the backsplash will be installed. Ensure the wall is clean, dry, and free of any old adhesive or paint. If the wall is not smooth, consider using a backer board to provide a stable surface for the tiles. Proper surface preparation is essential for a durable and long-lasting installation.
The Step-by-Step Installation Process

Step 1: Dry Fitting the Tiles
Before applying any adhesive, it’s beneficial to dry fit the tiles. This involves laying out the tiles on the wall without adhesive to see how they will fit together. This step allows you to make any necessary adjustments to the layout and ensure that any cuts you need to make are planned in advance. Family Handyman explains that dry fitting can help you visualize the final look and make any design adjustments before committing.
Step 2: Applying Adhesive
Once you’re satisfied with the layout, it’s time to apply the adhesive. Use a notched trowel to spread the adhesive evenly across a small section of the wall. Work in sections to prevent the adhesive from drying before the tiles are set. Carefully press each tile into the adhesive, using spacers to maintain consistent gaps between tiles. These gaps will later be filled with grout.
Step 3: Cutting Tiles
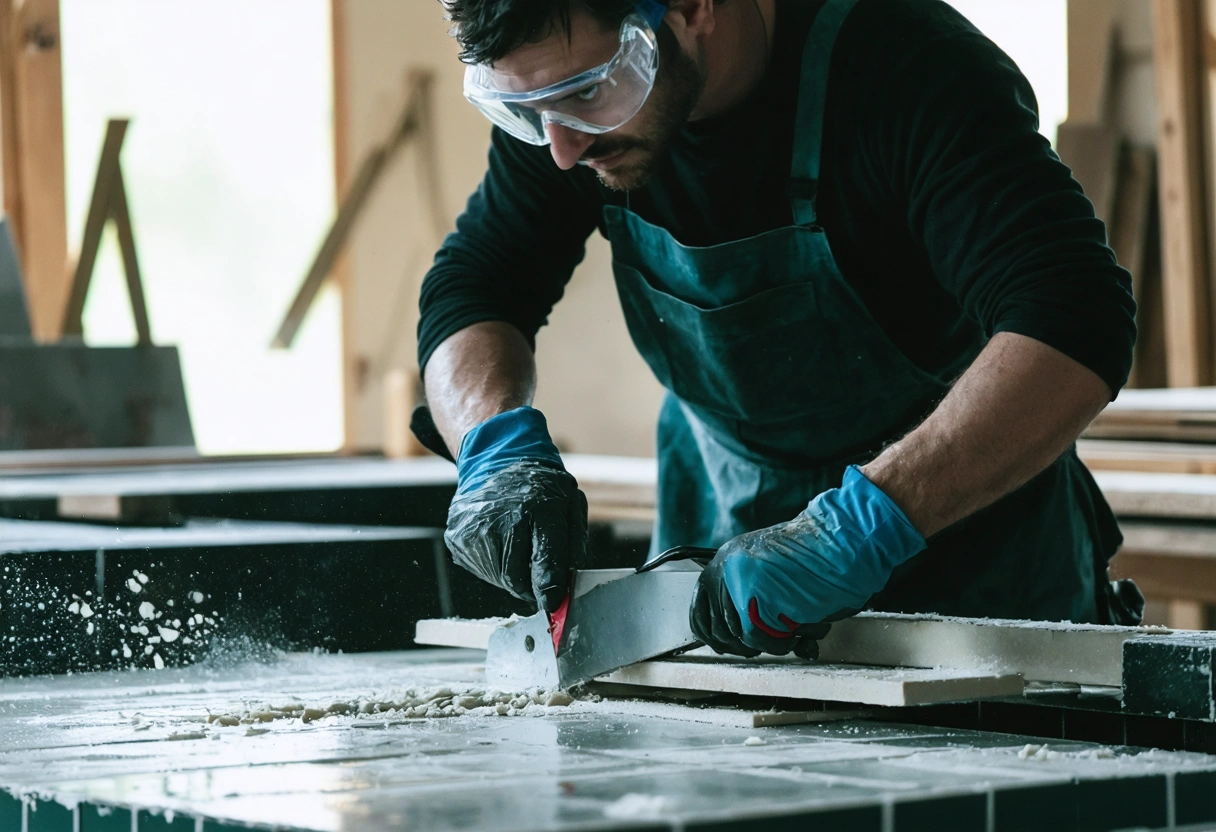
During installation, you may need to cut tiles to fit around outlets, corners, or edges. A tile cutter or wet saw can be used for this purpose. Accurate measurements and a steady hand are essential to achieve clean cuts. Remember to wear safety goggles and gloves when cutting tiles to protect yourself from sharp edges and debris.
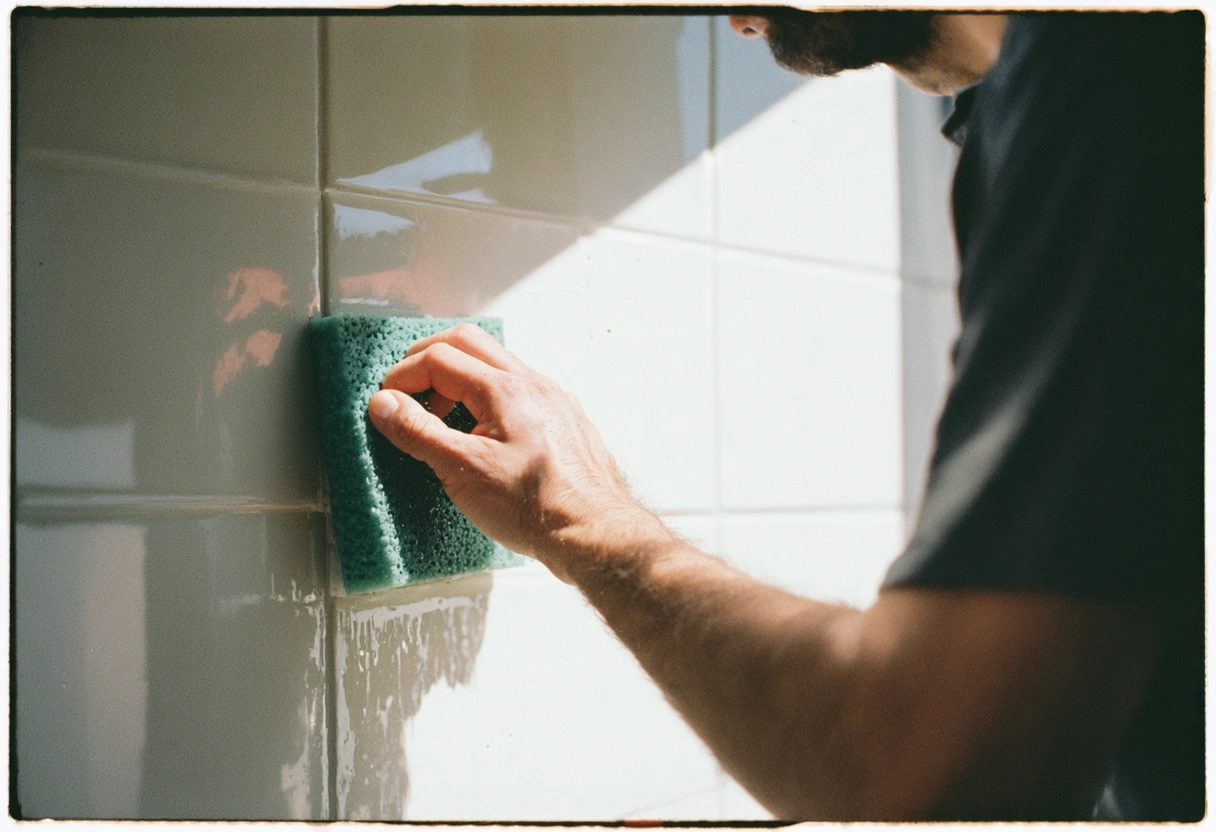
Step 4: Grouting the Tiles
After the adhesive has cured, which typically takes 24 hours, it’s time to grout the tiles. Mix the grout according to the manufacturer’s instructions and use a grout float to spread it over the tiles, pressing it into the gaps between them. Wipe away excess grout with a damp sponge, being careful not to remove grout from the joints. This Old House provides detailed guidance on achieving a professional finish when grouting tiles.
Step 5: Sealing the Backsplash
Sealing the tiles and grout is an important step to protect your backsplash from moisture and stains. Not all materials require sealing, so check the manufacturer’s recommendations. Apply the sealer with a brush or sponge, ensuring even coverage. Allow the sealer to dry completely before using the area.
Common Challenges and Solutions
Backsplash installation can present several challenges, but with proper planning and knowledge, these can be overcome. One common issue is uneven walls, which can cause tiles to appear crooked. Using a level and taking the time to adjust tiles during installation can help achieve a uniform appearance.
Another challenge is dealing with electrical outlets. You may need to cut tiles to fit around outlets or use outlet extenders to ensure they are flush with the tiles. Bob Vila offers tips on how to extend outlets to accommodate the thickness of the tiles and adhesive.
If you’re encountering difficulty with tile cuts, practice on spare tiles before making final cuts. This allows you to refine your technique and avoid costly mistakes. Additionally, if you’re unsure about any step in the process, consulting with a professional can provide peace of mind and ensure a high-quality installation.

Enjoying Your New Backsplash
Once the installation is complete, it’s time to step back and admire your work. A well-installed backsplash not only enhances the beauty of your kitchen or bathroom but also adds value to your home. Regular maintenance, such as cleaning and resealing, will keep your backsplash looking its best for years to come.
Whether you’re a DIY enthusiast or prefer to hire a professional, understanding the backsplash installation process can help you achieve the results you desire. With careful planning, attention to detail, and the right materials, you can transform your space into a stunning and functional area that reflects your style and meets your needs.
For those looking to delve deeper into the world of backsplash design and installation, resources such as the New York Times provide a wealth of information and inspiration. Whether you’re updating an existing space or starting from scratch, the possibilities are endless.
Need help with Understanding the Process: What to Expect During a Backsplash Installation?