
Professional paver cleaning and sealing is a multistep process designed to restore the appearance of paved surfaces while helping protect them from stains, weather exposure, and everyday wear. Knowing how the service works can help property owners prepare the area, understand the timeline, and set realistic expectations for the finished surface.
Although the exact approach depends on the paver material and its condition, most services include an initial inspection, deep cleaning, minor surface preparation, and careful sealer application. Weather, drainage, existing coatings, and joint stability can also influence the products and techniques used.
How Contractors Evaluate the Paved Surface
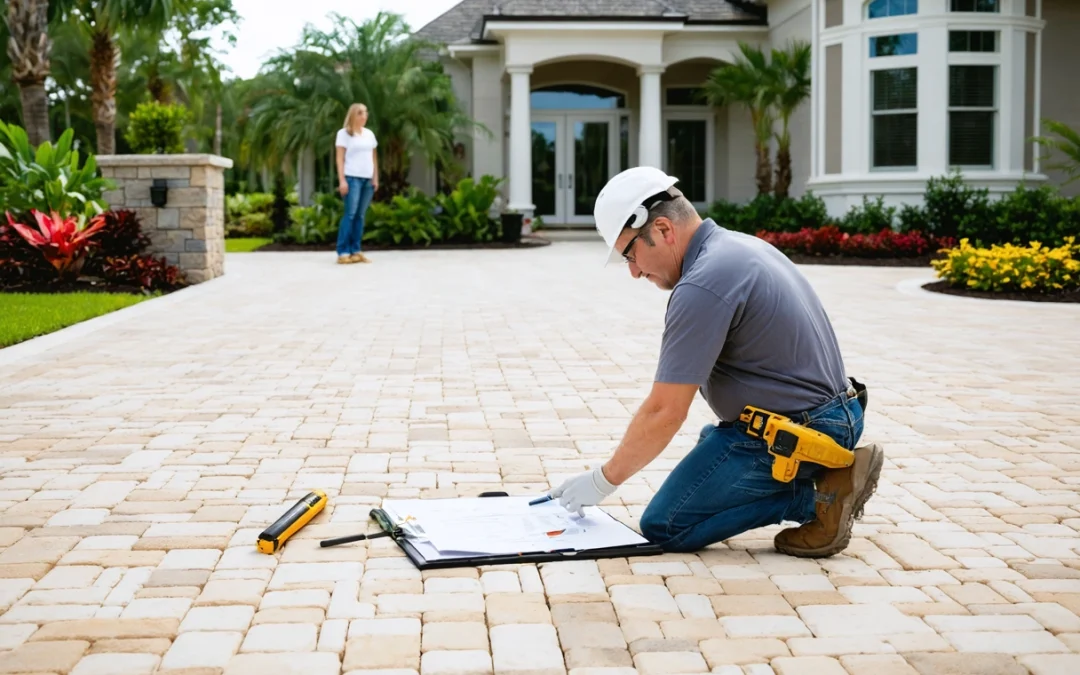
A professional typically begins by inspecting the entire installation for stains, weeds, algae, efflorescence, loose joint sand, drainage issues, and damaged or uneven pavers. This evaluation helps identify areas that may require specialized treatment and reveals conditions that could affect cleaning results or sealer adhesion.
The contractor may also determine whether the surface has been sealed before. Old sealer that is peeling, cloudy, uneven, or incompatible with the new product may require additional preparation or removal. Identifying the paver material is equally important because concrete, clay brick, and natural stone can respond differently to cleaning pressure and chemical treatments.
Common Conditions That Affect the Service
Oil spots, rust marks, organic growth, tire residue, and hard water deposits often require targeted cleaners rather than pressure washing alone. Deep stains may improve significantly without disappearing completely, especially when contaminants have penetrated porous pavers over an extended period.
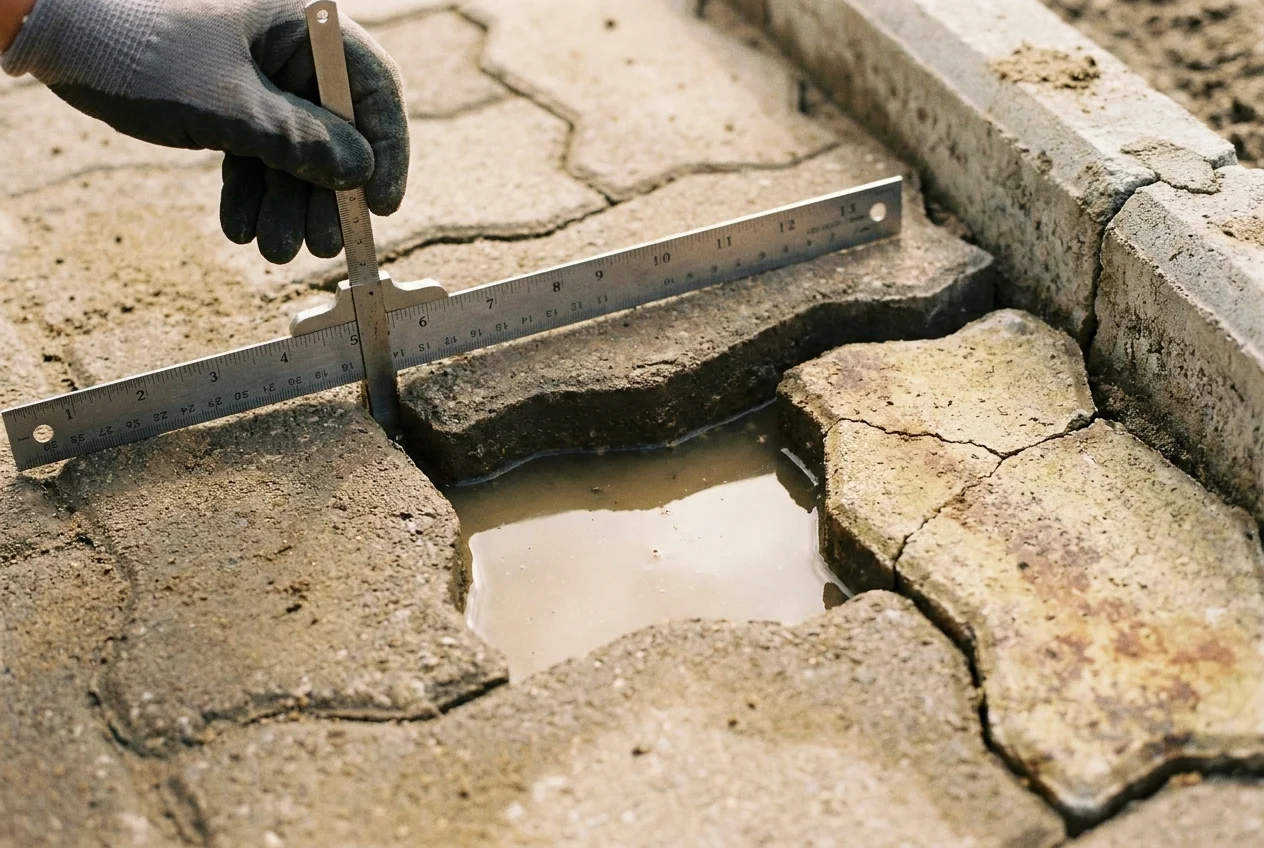
Structural concerns can also change the scope of work. Cleaning and sealing will not correct major settling, poor drainage, cracked pavers, or widespread edge failure. A reputable professional should explain whether repairs or releveling are recommended before the surface is sealed.
What Happens During the Cleaning Stage
Before cleaning begins, furniture, planters, vehicles, and other movable items are cleared from the work area. Nearby walls, doors, landscaping, and pool features may be rinsed or protected as needed. The contractor then applies appropriate cleaning solutions to loosen embedded dirt, biological growth, and surface contaminants.
Professional equipment is used to clean the pavers evenly while limiting surface damage. The goal is not simply to use the highest possible pressure. Instead, the technician balances water pressure, cleaning agents, equipment distance, and dwell time according to the paver type and condition.
Joint Sand and Surface Rinsing
Some joint sand may be displaced during deep cleaning, particularly if it is already loose or deteriorated. This is normal in many projects and is often addressed by adding new joint sand after the pavers have been cleaned and allowed to dry. Stable joints are important because they help support the installation and reduce paver movement.
Thorough rinsing removes loosened debris and cleaning residue from the surface and joints. The pavers must then dry adequately before sealing, since trapped moisture can contribute to hazing, whitening, or poor sealer performance. Drying time varies based on humidity, temperature, shade, paver porosity, and recent rainfall.
How Joint Sand Is Replaced
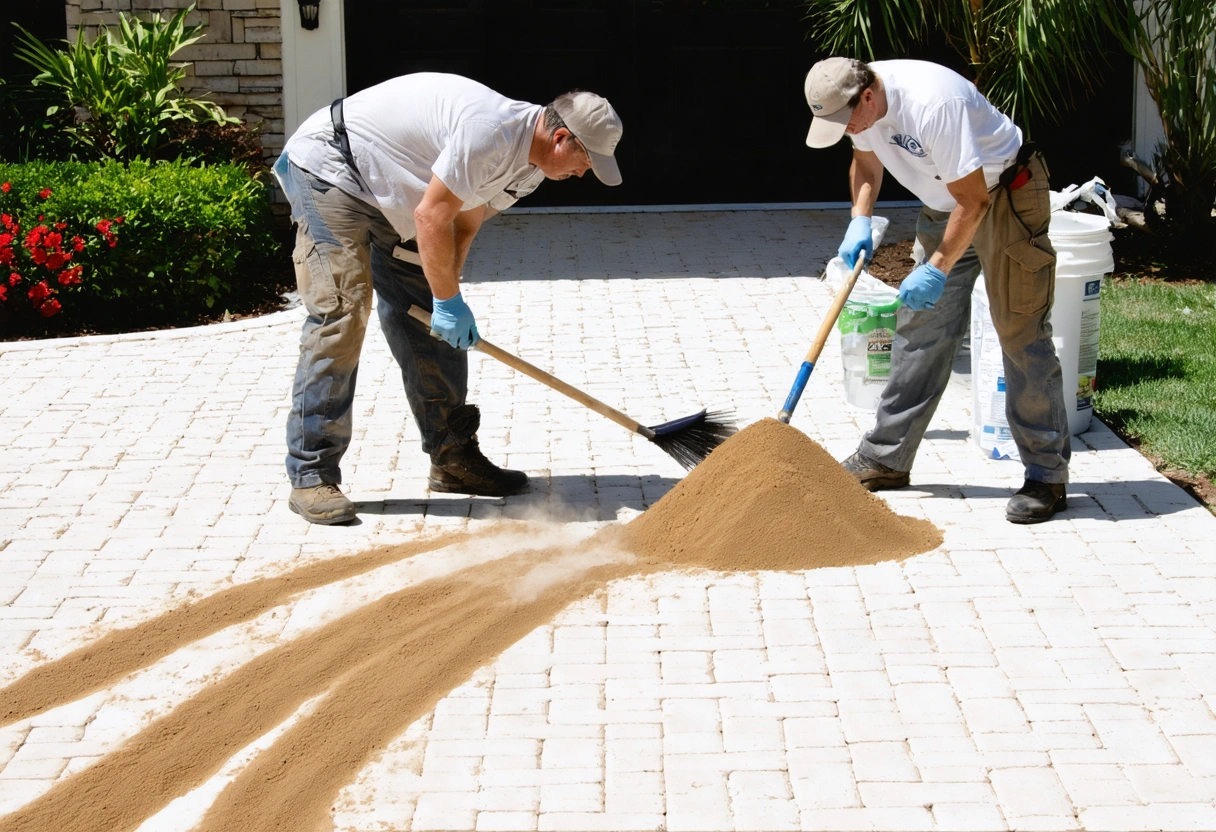
Once the pavers are clean and sufficiently dry, the contractor may replenish the joints with compatible sand. Dry joint sand is swept across the surface so that it settles between the pavers. The surface may also be compacted to help the sand fill deeper voids, followed by another application where needed.
The type of sand used depends on the installation, joint width, paver design, and sealing system. Standard joint sand fills the spaces between pavers, while polymeric sand contains binders that activate when exposed to water. Some sealers can also stabilize ordinary joint sand by soaking into the upper portion of the joints.
What Joint Sand Can and Cannot Do
Properly installed joint sand helps limit paver movement and can make it more difficult for weeds and insects to occupy the joints. However, it does not make the installation completely weed proof. Seeds can still settle in surface debris, and organic growth may develop where moisture and soil collect.
Joint sanding is also not a substitute for repairing an unstable base. If pavers rock underfoot, joints repeatedly empty, or sections have settled, the affected area may need to be lifted and rebuilt before sanding and sealing.
What Happens During Sealer Application
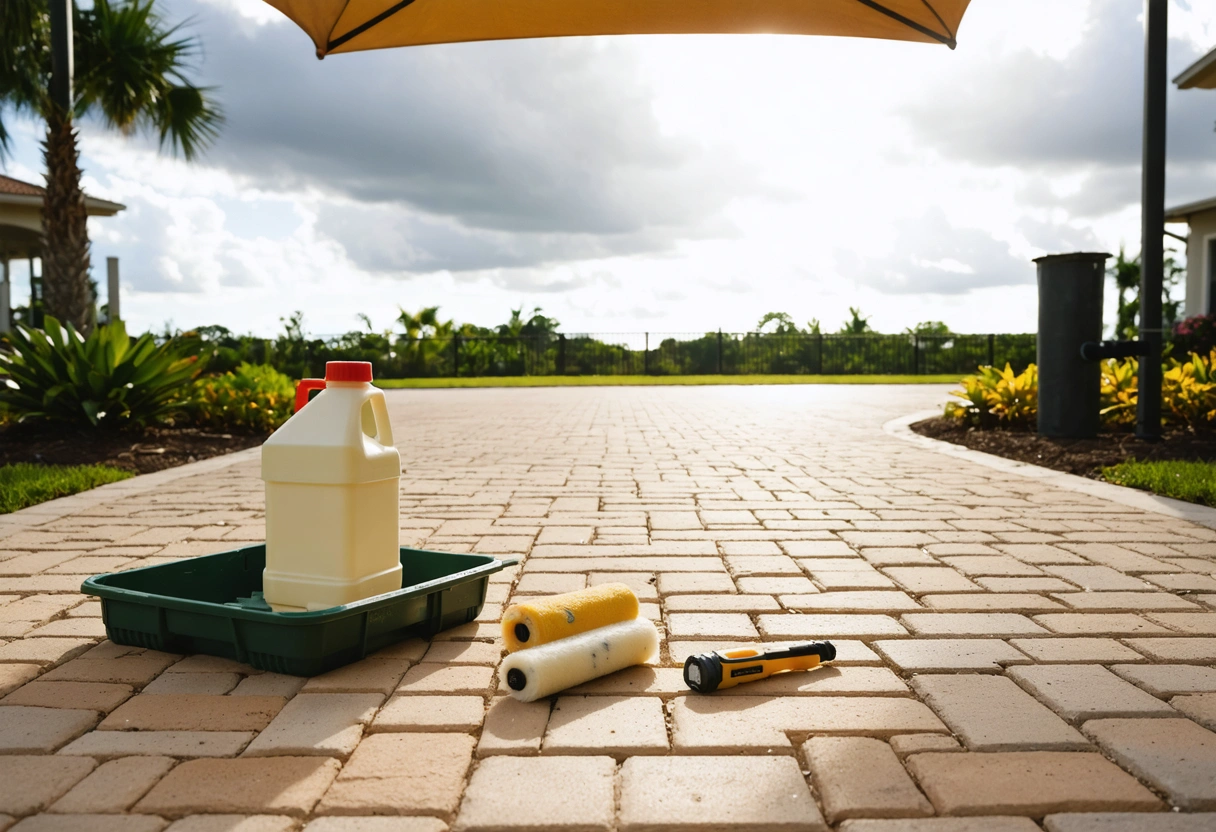
Before applying sealer, the technician confirms that the surface is clean, dry, and free of loose sand or residue. The sealer is then applied with equipment suited to the product and site, such as a sprayer, roller, or combination of both. Coverage must be controlled carefully to prevent puddling, missed areas, and excessive buildup.
Some systems require one coat, while others use two or more lighter coats. The second coat may be applied within a specific window so that it bonds properly with the first. Highly porous pavers can absorb more product, while previously sealed or dense surfaces may require less.
Choosing the Sealer Finish
Paver sealers are available in several finishes. A natural look sealer generally changes the color very little and produces minimal sheen. A color enhancing product can deepen the tones in the pavers, creating an appearance similar to how the surface looks when slightly wet. Gloss products provide a more reflective finish, although the final sheen depends on porosity, application rate, and the number of coats.
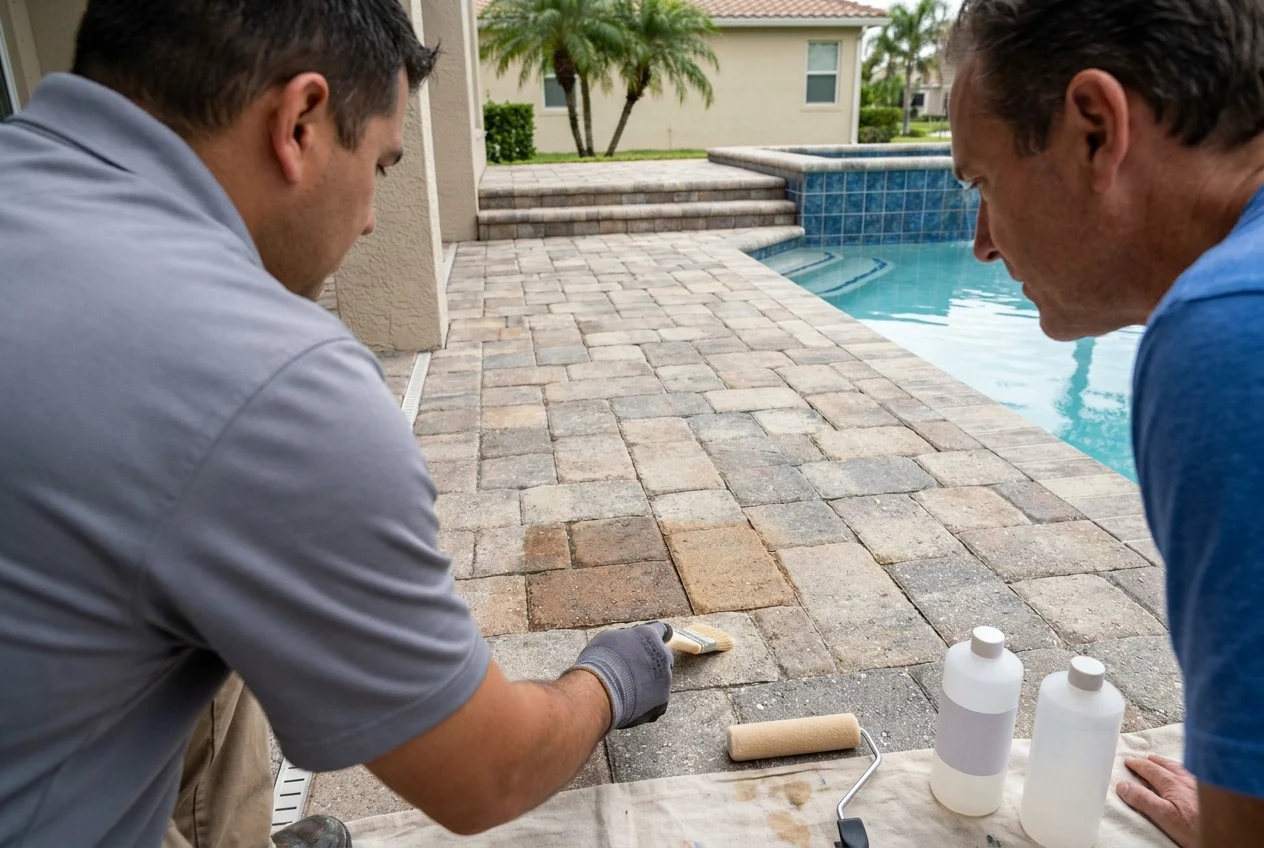
A sample area can help set expectations, particularly on older pavers or installations with mixed color tones. Sealing may make existing variations, stains, repairs, and replacement pavers more noticeable because the product enhances contrast. Contractors should also consider slip resistance around pools, steps, slopes, and frequently wet areas. A traction additive may be appropriate for certain film forming sealers, but it does not eliminate every slipping risk.
Penetrating and Film Forming Sealers
Penetrating sealers absorb into the pavers and provide protection with little visible surface film. They are often selected when the owner wants a natural appearance or improved resistance to water and stains without substantial gloss.
Film forming sealers create a coating on or near the surface. Depending on the formulation, they may enhance color, add sheen, and help bind joint sand. They can require more careful moisture management and may eventually need recoating or removal if layers become cloudy, worn, or uneven.
No sealer makes pavers completely maintenance free or impervious to stains. Spills should still be cleaned promptly, and drainage problems should be corrected rather than relying on sealer to block persistent moisture.
Drying, Curing, and Access Restrictions
The area usually needs to remain free of foot traffic, vehicles, irrigation, rain, and cleaning activity while the sealer dries and cures. Exact restrictions depend on the product, number of coats, temperature, humidity, and surface conditions. A surface may feel dry before the coating has developed enough strength for normal use.
Foot traffic may be permitted sooner than vehicle traffic. Driveways commonly require a longer waiting period because hot tires, turning wheels, and vehicle weight can mark a coating that has not fully cured. Furniture, rugs, planters, and pool accessories should not be returned until the contractor confirms that the surface is ready.
Why Weather Matters
Sealer should generally be applied within the product manufacturer’s acceptable temperature and moisture ranges. Rain before application can delay the project because water may remain inside porous pavers and joints. Rain shortly after application can interfere with curing, while extreme heat may cause the sealer to dry too quickly for even coverage.
Morning dew, shaded areas, nearby irrigation, and moisture rising through the base can also affect the schedule. A professional may postpone application even when the surface looks dry if conditions are likely to produce cloudiness, poor adhesion, or inconsistent sheen.
What the Finished Surface May Look Like
Immediately after application, the pavers may appear darker, glossier, or slightly uneven as the sealer begins to settle and cure. Minor differences can become less noticeable during the curing period. The contractor should provide guidance on which changes are normal and when an area should be inspected again.
The final appearance will not necessarily be identical across every paver. Differences in age, porosity, previous repairs, sun exposure, and manufacturing batches can affect absorption. Natural stone and tumbled pavers commonly retain intentional variation even after sealing.
Potential Issues to Report
Persistent white haze, milky patches, bubbles, peeling, tackiness, heavy roller marks, or areas that remain unusually slick should be reported to the contractor. These conditions can result from trapped moisture, excessive product, incompatible coatings, contamination, or application outside recommended conditions.
Some issues can be corrected with additional curing time or a compatible treatment, while others may require partial or complete coating removal. Property owners should avoid applying solvents, household chemicals, or additional sealer without professional guidance because an improper treatment can worsen the problem.
How Property Owners Can Prepare for Service
Removing furniture, toys, grills, mats, and portable planters before the scheduled visit allows the crew to work efficiently. Vehicles should be moved away from the driveway and surrounding work area. If the driveway will be inaccessible during curing, parking arrangements should be made in advance.
Automatic sprinklers should be turned off before cleaning and kept off for the period specified by the contractor. Gates should be unlocked, pets should remain indoors or in a secure area, and windows near the work zone should be closed.
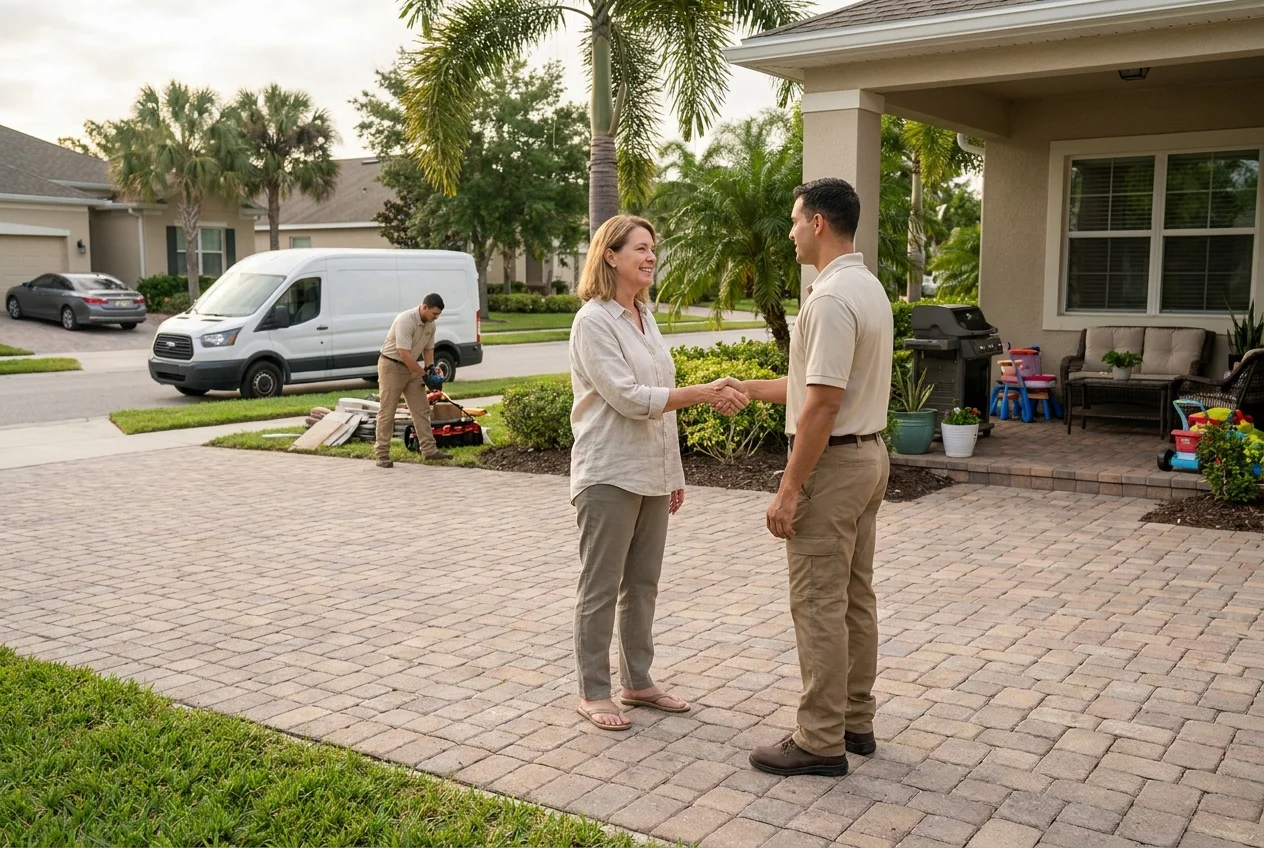
Items that cannot be moved, such as large planters, outdoor kitchens, pool equipment, or permanently mounted furniture, should be discussed beforehand. Moving heavy objects after sealing can scratch the finish, so placement should be planned carefully.
How Long the Full Process Takes
A small patio in good condition may be cleaned and prepared relatively quickly, while a large driveway with stains, failing sealer, or extensive joint loss can require multiple visits.
Old coating removal, repairs, weather delays, and specialized stain treatments can extend the project. A written estimate should clarify whether cleaning, stain treatment, sanding, minor repairs, sealer application, and return visits are included.
Maintaining Pavers After Cleaning and Sealing
Routine sweeping and occasional gentle washing help prevent soil, leaves, and organic debris from accumulating. Spills such as oil, grease, food, fertilizer, and pool chemicals should be addressed promptly with a cleaner approved for the paver material and sealer.
Inspect the surface periodically for joint loss, weed growth, drainage problems, and worn traffic areas. Resealing frequency varies with the sealer type, climate, exposure, maintenance practices, and level of use.
Need help with What to Expect During Professional Paver Cleaning and Sealing Services?