

A kitchen or bathroom backsplash does more than add color and texture. It protects the wall from splashes, grease, humidity, and daily cleaning. When tile, grout, or sealant is installed incorrectly, small imperfections can develop into visible cracks, uneven gaps, loose tiles, and moisture damage.
Professional backsplash installation addresses these risks before the first tile is set. Careful surface preparation, accurate layout planning, proper material selection, and precise installation create a durable finish that can withstand movement, moisture, and regular use.
A Durable Backsplash Starts With Proper Wall Preparation
Backsplash tile needs a clean, dry, stable, and level surface. Paint residue, grease, loose drywall paper, old adhesive, and uneven patches can prevent mortar or tile adhesive from bonding correctly. A professional installer evaluates the wall condition and corrects these issues instead of covering them with new tile.
Surface preparation may include cleaning, sanding, patching holes, repairing damaged drywall, flattening high spots, and applying an appropriate primer. In moisture prone locations, additional waterproofing or a suitable tile backer may be needed. These steps help distribute stress evenly and reduce the likelihood of cracked grout, hollow spots, and detached tiles.
Why Uneven Walls Create Gaps and Weak Bonding
Cabinet walls and countertops are not always perfectly straight or level. If tile is installed without identifying these variations, grout joints may become inconsistent and tiles can rock against high spots. Thick layers of adhesive are sometimes used to compensate, but excessive adhesive can cure unevenly and weaken the installation.
Professional installers check the substrate with levels and straightedges before beginning the layout. Correcting irregularities at this stage produces flatter tile courses, more consistent grout lines, and cleaner transitions around cabinets, countertops, outlets, and inside corners.

Accurate Layout and Movement Planning Prevent Cracks
A reliable backsplash layout accounts for tile dimensions, grout joint width, focal points, electrical outlets, cabinet edges, and changes in direction. Professionals measure the installation area carefully and dry plan tile placement so narrow slivers and awkward cuts do not weaken the finished surface. Balanced cuts also create a more intentional appearance across the wall.
Layout planning is especially important around windows, range hoods, open shelving, and decorative patterns. Small measurement errors can compound across multiple rows, causing joints to drift or creating oversized gaps near countertops and upper cabinets. Accurate reference lines keep the pattern aligned even when surrounding surfaces are slightly out of square.
Flexible Joints Accommodate Normal Building Movement
Walls, cabinets, and countertops expand and contract as temperature and humidity change. These materials can also move independently as a home settles. Filling every transition with rigid grout leaves little room for that movement, which can lead to cracking where the backsplash meets the counter, cabinets, or adjacent walls.
A professional backsplash installer identifies changes of plane and uses an appropriate flexible sealant in those locations. Properly sized perimeter gaps and movement joints absorb minor shifts while helping block water from reaching the wall assembly. This detail is particularly important behind sinks and in other areas exposed to frequent splashing.
Correct Adhesive Selection Keeps Tile Secure
Backsplash materials vary in weight, porosity, size, and surface texture. Ceramic, porcelain, glass, natural stone, and metal tiles do not always require the same bonding product. The wall substrate and expected moisture exposure also influence whether a particular mortar, mastic, or specialty adhesive is appropriate.
Professional installers match the adhesive to the tile manufacturer’s requirements and the installation environment. For example, translucent glass may require a bright white mortar that will not alter its appearance, while large or heavy tile may need a mortar formulated to resist slipping. Natural stone can require products that limit staining or moisture absorption.
Proper Coverage Prevents Hollow Spots and Loose Tiles
Even the correct adhesive can fail if it is mixed, spread, or applied incorrectly. Mortar must have the proper consistency, and only an area that can be tiled within the product’s working time should be covered. If the adhesive begins to skin over before the tile is placed, the bond may be significantly reduced.

An installer selects a suitable trowel notch and holds the trowel at a consistent angle to create uniform ridges. Tiles are pressed into the adhesive with enough movement to collapse those ridges and achieve reliable contact. Larger tiles or pieces with uneven backs may also require a thin layer of mortar applied directly to the tile.
Insufficient coverage can leave hollow areas behind the backsplash. These voids concentrate stress, make tiles more vulnerable to impact, and can provide pathways for moisture. Excess adhesive creates different problems, including uneven tile faces and mortar squeezing into joints that should remain open for grout.
Consistent Spacing Produces Stronger Grout Joints
Grout joints are functional components of a tile assembly, not simply decorative lines. They accommodate minor variations in tile dimensions, support tile edges, and help create a cleanable surface. Joints that are too narrow, irregular, or partially filled are more likely to crack, collect residue, or expose the wall beneath.
Professional installers use spacers, leveling tools, and reference lines to maintain consistent spacing. They also account for the fact that some handmade, pressed, or natural stone tiles vary slightly in size. Instead of forcing those materials into an unrealistically tight grid, the joint width is selected to keep the overall pattern visually balanced.
Clean Joints Allow Grout to Bond Properly
Adhesive that rises too far into a grout joint reduces the depth available for grout. Thin patches of grout over hardened mortar can loosen, discolor, or crack during cleaning. Adhesive residue may also show through light colored or translucent grout.
Before grouting, a professional checks the installation for excess mortar and removes it without damaging tile edges. The joints are allowed to reach a consistent depth, and the adhesive receives adequate curing time. This preparation helps the grout fill the joints evenly and develop the strength intended by its manufacturer.

Proper Grouting Reduces Cracks and Moisture Entry
Grout must be appropriate for the tile, joint width, and expected use. Cement based, high performance cement, epoxy, and premixed grouts have different mixing, application, cleaning, and maintenance requirements. Choosing solely by color can result in scratched tile, stained stone, weak joints, or a surface that is difficult to maintain.
Professional grouting involves measuring components accurately, respecting working and curing times, and packing the material fully into each joint. Too much water during mixing or cleanup can weaken cement based grout, create inconsistent color, and increase porosity. Aggressive washing can also pull grout out of the joints before it hardens.
Sealant and Grout Serve Different Purposes
Rigid grout belongs between tiles on the same plane. Flexible sealant is generally used where surfaces meet or where movement is expected, such as along countertops, inside corners, cabinet edges, and some window transitions.
Sealant must also be installed over clean surfaces with a joint shape that allows it to stretch effectively. Applying a thin smear over an existing crack may hide the opening temporarily, but it rarely creates a durable waterproof connection.
Careful Detailing Protects Vulnerable Openings
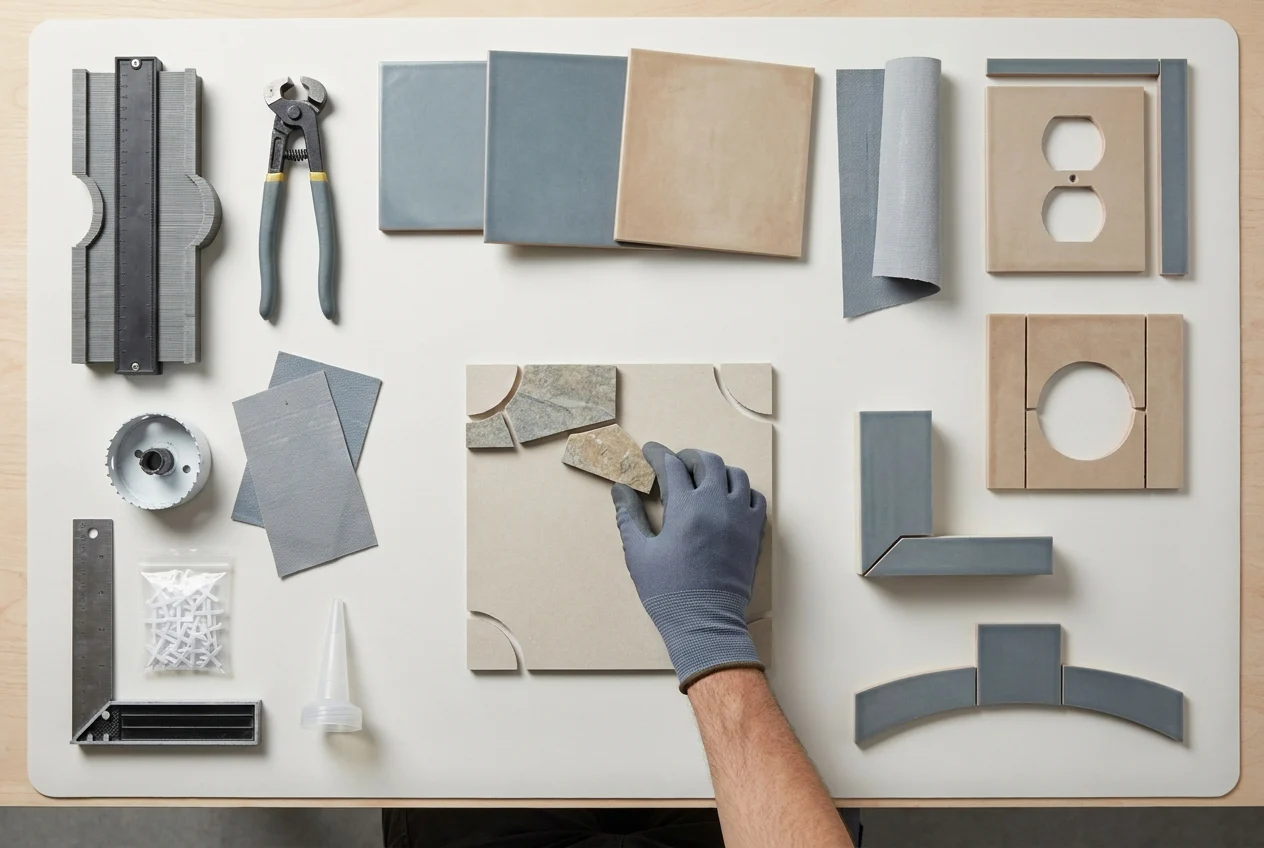
Outlets, switches, plumbing penetrations, windows, and range hood components interrupt the tile field. These openings require accurate cuts and thoughtful moisture protection. Oversized cutouts can leave unsupported tile edges or gaps that are difficult to conceal, while cuts placed too close to corners may cause the tile to break during installation or later use.
A professional plans cuts so outlet covers sit flat and fully cover the opening without relying on excessive caulk. Electrical boxes may need approved extensions so devices remain properly supported at the new finished wall depth.
Countertop and Sink Areas Need Continuous Protection
The joint between the countertop and backsplash experiences frequent water exposure, cleaning, vibration, and movement. If this transition contains pinholes, missing sealant, or rigid grout, water can travel behind the counter or into the drywall.
Professional installation leaves a controlled gap above the countertop and fills it with a compatible flexible sealant. Special attention is given to the sink area, faucet splash zones, countertop seams, and corners where water tends to collect.
Tile Cutting and Edge Finishing Prevent Future Damage
Chipped cuts and sharp exposed edges are not only unattractive. They can create weak points that are vulnerable to impact and can make grout or sealant joints difficult to finish.
Professionals select trim pieces, profiles, bullnose tile, or finished tile edges before setting the field. This planning is important at exposed wall ends, niches, windows, and transitions to painted drywall.
Curing Time Is Essential for Long Term Performance
A backsplash may look complete as soon as the grout is cleaned, but adhesives, grout, and sealants still need time to cure. Installing grout too soon can trap moisture or disturb tile alignment.
Professional installers follow product specific curing requirements and consider temperature, humidity, tile type, and substrate conditions. They also explain when the backsplash can be cleaned, exposed to sink splashes, or used behind a cooking surface.
Sealers Must Be Used Selectively
Some cement based grout and porous natural stone benefit from a penetrating sealer, but not every backsplash material requires one. Epoxy grout, certain premixed products, glazed tile, and nonporous surfaces may not absorb sealer.
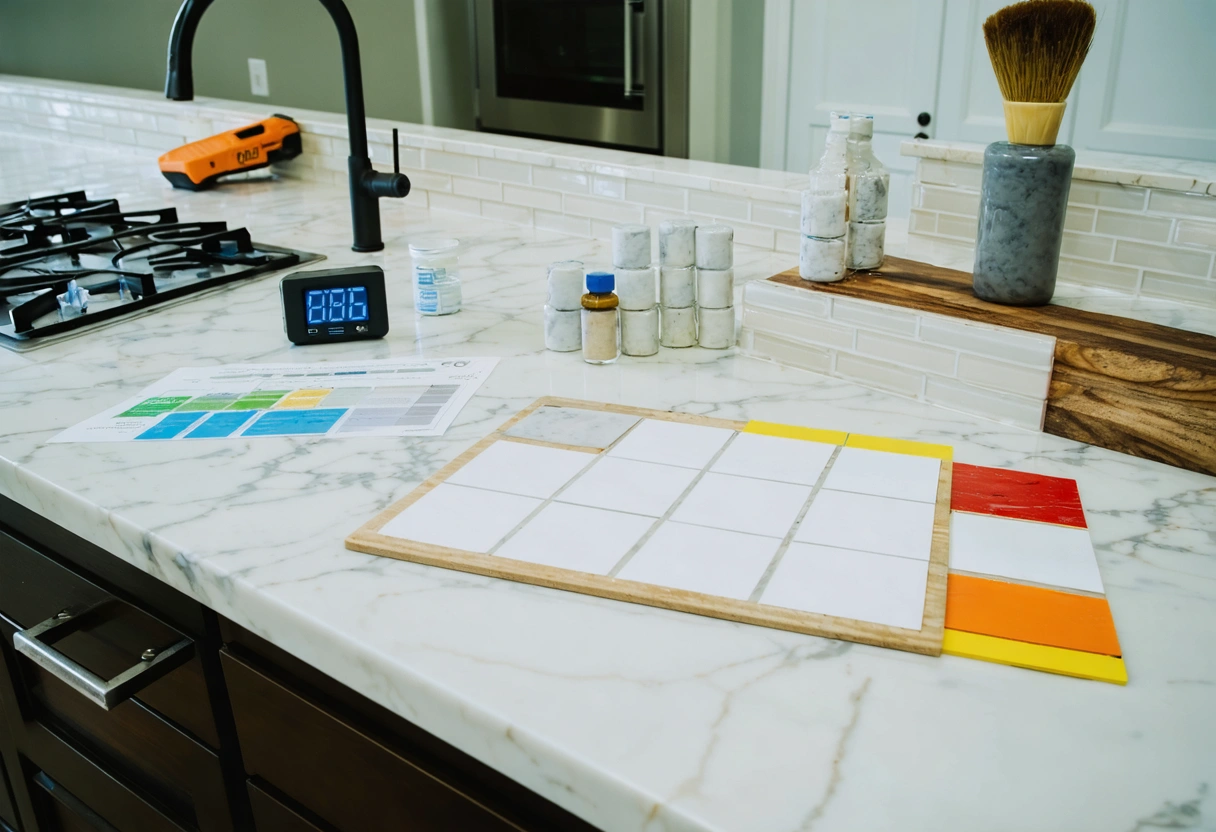
When sealing is recommended, the surface must be clean and adequately cured. Excess sealer is removed before it dries on the tile face, and porous stone may be tested in an inconspicuous area first.
Professional Inspection Catches Problems Before Completion
Quality installation includes checking tile alignment, grout depth, edge finishes, sealant continuity, and coverage around penetrations before the work is considered complete. Addressing a small void or incomplete joint immediately is far easier than repairing moisture damaged drywall or replacing loose tile later.
The final inspection also identifies grout haze, chipped edges, lippage, pinholes, and areas where sealant has not bonded properly. Outlet covers and trim pieces should sit securely, exposed edges should be finished, and transitions should form continuous, clean lines.
Early Corrections Help Preserve the Entire Installation
Professional installers understand how individual defects can affect the surrounding assembly. A loose tile may indicate inadequate adhesive coverage, while recurring cracks can point to substrate movement or an improperly grouted change of plane.
With sound preparation, compatible materials, controlled spacing, and careful moisture detailing, a professionally installed backsplash remains easier to clean and less vulnerable to cracks, gaps, and water intrusion.
Need help with Why Professional Backsplash Installation Prevents Cracks, Gaps, and Water Damage?

