
When a tenant moves out, the condition of a rental home can range from nearly spotless to heavily worn. For landlords and property managers, the challenge is knowing which restoration tasks should happen first so the unit can be cleaned efficiently, repaired correctly, and prepared for the next renter without unnecessary delays.
A smart restoration sequence helps prevent rework, protects newly repaired surfaces, and keeps turnover costs under control. Floors, grout, showers, walls, appliances, and high-touch areas all matter, but the order in which they are addressed can make a major difference in both quality and turnaround time.
Start With a Full Condition Assessment
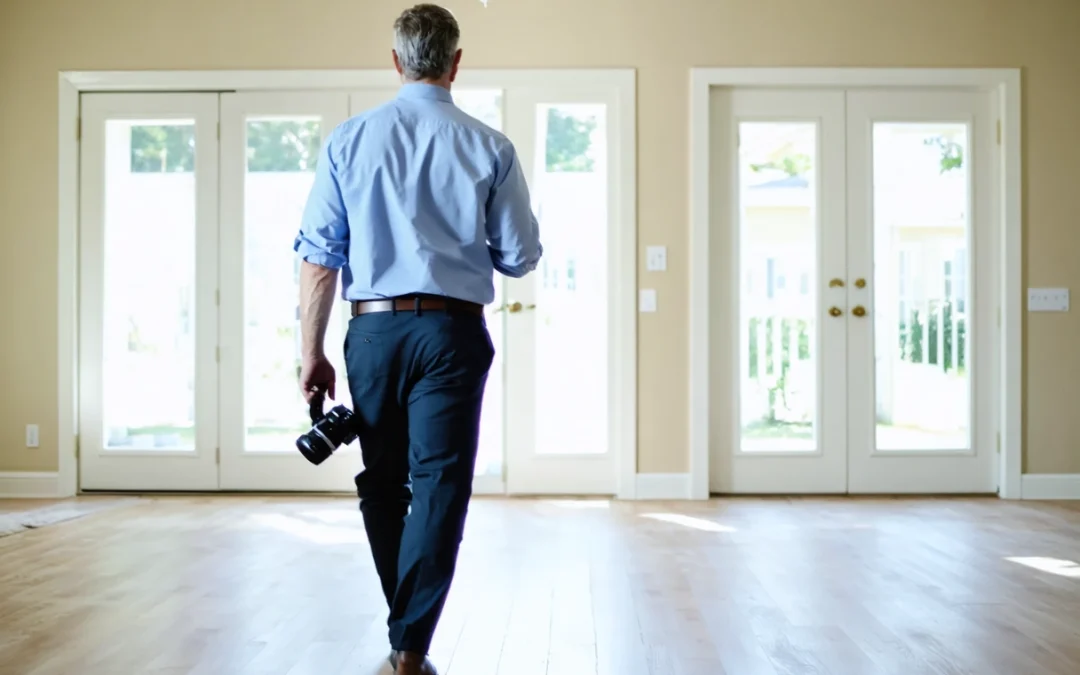
Before restoring any surface, walk through the rental home and document its condition room by room. This first step helps separate normal wear from actual damage, identifies safety concerns, and creates a clear plan for cleaning, repair, and replacement work. Photos and written notes are especially useful when comparing the current condition to the move-in inspection report.
During the assessment, look beyond obvious messes and cosmetic issues. Check for water damage around showers, tubs, sinks, toilets, windows, and appliances. Inspect flooring for stains, lifting edges, cracked tiles, pet damage, soft spots, or lingering odors. In kitchens and bathrooms, examine grout lines, caulk, fixtures, cabinetry, ventilation, and any signs of mold or mildew.
Prioritize Health, Safety, and Moisture Problems
Any issue involving water intrusion, mold risk, electrical hazards, broken glass, loose railings, or pest activity should be addressed before routine cosmetic work begins. These problems can worsen quickly if ignored, and they may affect whether cleaners, flooring contractors, or other vendors can safely complete their work.
Moisture problems deserve special attention after tenant move-out because they often hide beneath surfaces. A stained ceiling, musty bathroom, swollen baseboard, or darkened grout line may point to a leak or ventilation issue. Correcting the source of the problem before replacing finishes prevents the same damage from returning after the next tenant moves in.
Handle Debris Removal and Deep Cleaning Before Surface Restoration
Once the inspection is complete and urgent safety concerns are identified, the next priority is clearing out trash, abandoned belongings, and loose debris. Restoration work is easier and more accurate when every room is empty, accessible, and free of clutter. This also allows you to see flooring, walls, baseboards, closets, tubs, showers, and cabinets without obstruction.

Deep cleaning should usually happen before detailed surface repair, especially in kitchens and bathrooms where grease, soap scum, hard water deposits, and grime can hide the true condition of materials. A shower that initially appears to need replacement may only require descaling, grout cleaning, and fresh caulk. Likewise, tile floors may look permanently stained until the grout is properly cleaned.
Why Cleaning First Can Lower Restoration Costs
Cleaning first gives you a better understanding of what is salvageable. Dirty grout, cloudy shower glass, stained tubs, and dull floors are not always beyond repair. Professional-level cleaning can reveal whether a surface needs restoration, sealing, refinishing, or full replacement.
This step can also prevent spending money on unnecessary upgrades. For example, a bathroom floor with dark grout lines may only need extraction cleaning and resealing rather than new tile. A fiberglass shower surround with heavy buildup may respond well to the right cleaning process, while damaged caulk can be removed and replaced after the surface is fully cleaned and dry.
Restore Bathrooms Early in the Turnover Process
Bathrooms should be one of the first detailed restoration areas after debris removal and initial cleaning. They are high-moisture spaces, and unresolved bathroom problems can affect surrounding walls, subfloors, ceilings, and adjacent rooms. A bathroom that looks merely dirty may have failed caulk, loose tile, leaking supply lines, or poor ventilation that needs correction before cosmetic work continues.
Start by testing all fixtures. Run showers, tubs, sinks, and toilets while checking for slow drains, dripping valves, loose handles, water escaping around fixtures, and moisture beneath cabinets or behind toilets. If any leak is found, repair it before restoring grout, caulk, flooring, or drywall. Restoring surfaces before fixing plumbing issues often leads to repeat damage and wasted labor.
Showers, Tubs, and Surrounds
Showers and tubs often show the clearest signs of tenant wear. Soap scum, mineral scale, body oils, mildew, stained caulk, and discolored grout can make the entire bathroom look neglected. After deep cleaning, evaluate whether the shower surface is structurally sound. Fiberglass or acrylic units may need stain treatment, polishing, chip repair, or replacement if cracked.

Remove failed caulk only after the area is clean and dry. Old caulk that is cracked, peeling, blackened, or separated from the tub or wall should not be covered with new caulk.
Grout Restoration in Wet Areas
Grout in showers and bathroom floors should be restored before final wall painting or final floor polishing. Cleaning, scrubbing, steaming, or extraction can splash nearby surfaces, and grout repair can create dust or residue.
Pay close attention to corners and changes of plane, such as where shower walls meet each other or where tile meets the tub. These areas should typically be caulked rather than grouted because they experience movement.
Repair Walls, Ceilings, and Trim Before Final Flooring Work
After moisture issues and bathroom restoration needs are under control, move on to walls, ceilings, doors, and trim. These tasks should usually happen before final floor restoration because sanding, patching, priming, and painting can create dust and drips.
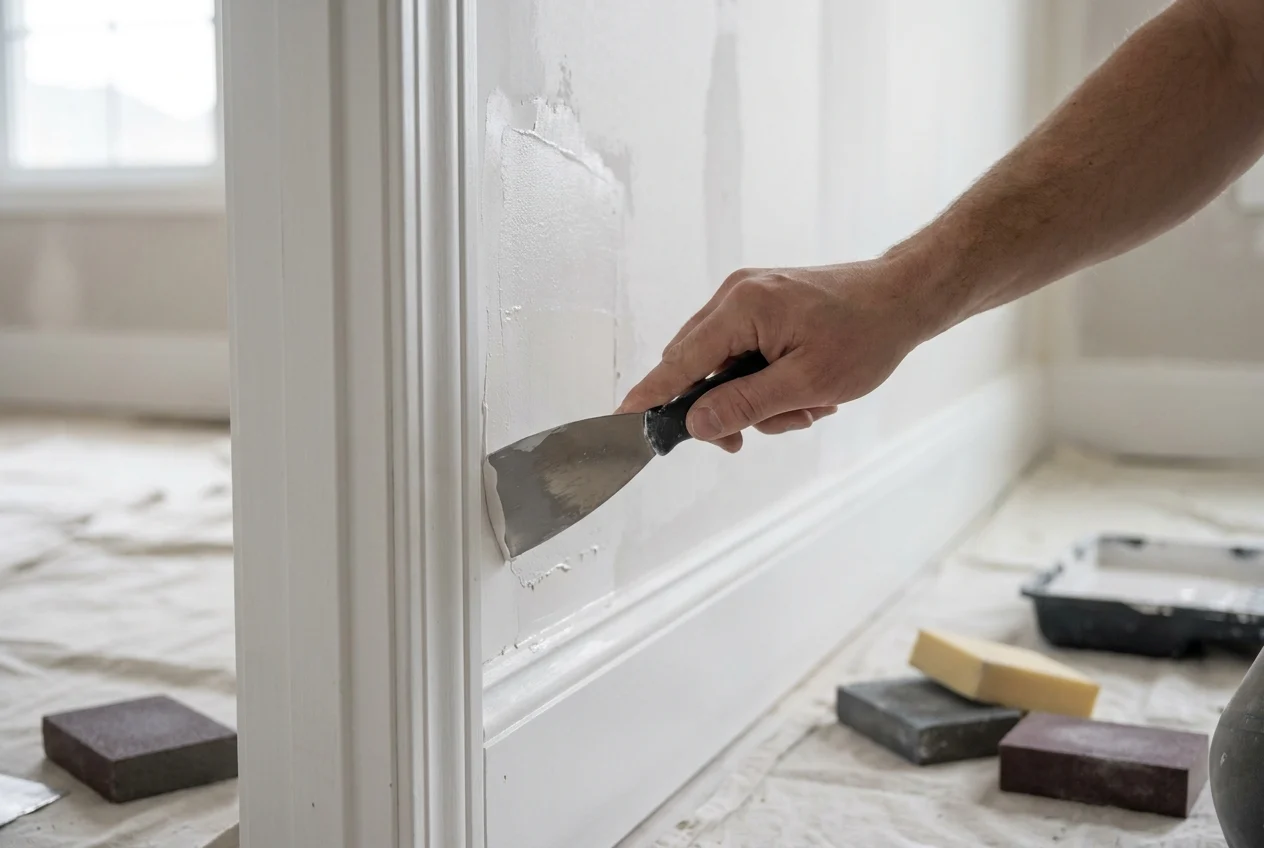
Inspect walls for nail holes, dents, gouges, adhesive residue, crayon, smoke staining, scuffs, and poorly patched areas. Minor nail holes may only need lightweight patching, while larger damage may require drywall repair, texture matching, and primer.
Prime Stains Before Painting
Some stains will bleed through ordinary paint if they are not sealed first. Water marks, smoke residue, pet stains near baseboards, grease, ink, and heavy discoloration may require a stain-blocking primer.
Ceilings should be checked carefully in kitchens, bathrooms, laundry rooms, and below upper-level plumbing. A small stain may be old and inactive, but it should still be investigated.
Doors, Baseboards, and Cabinets
Doors, baseboards, and cabinets often collect scuffs, impact marks, pet scratches, and grime. Repair or repaint trim before final floor care so sanding dust and paint drops do not damage finished surfaces.
Cabinets should be cleaned inside and out before deciding whether they need repair. Loose hinges, swollen sink-base panels, peeling laminate, broken drawer slides, and missing pulls should be addressed before final cleaning.
Sequence Floor Restoration Based on Material and Damage
Floors are often the most noticeable part of a rental turnover, but they should not always be restored first. In most cases, final floor work should happen after plumbing repairs, bathroom cleaning, drywall patching, painting, and trim work.
The right floor sequence depends on the material. Carpet, hardwood, laminate, luxury vinyl, and tile all respond differently to cleaning, moisture, and repair. Before deciding to replace flooring, identify whether the issue is cosmetic, structural, odor-related, or caused by water damage.
Carpet Cleaning, Odor Treatment, or Replacement
Carpet should be inspected for stains, traffic lanes, burns, ripples, pet urine, seam separation, and odors. If the carpet is structurally intact and not saturated with pet contamination, professional cleaning may restore it well enough for the next tenant.
Clean carpets near the end of the restoration process. Painting, drywall repair, and fixture work can track dust and debris into carpeted rooms. Once carpet is cleaned, limit foot traffic and allow proper drying time before final inspection or tenant move-in.

Tile Floors and Grout Lines
Tile floors are durable, but grout lines can trap soil, spills, and odors. After general cleaning, inspect for cracked tiles, hollow sounds, loose grout, and discoloration.
Tile floor restoration should be coordinated with bathroom and kitchen work. If appliances will be moved, cabinets repaired, or plumbing adjusted, complete those tasks before final grout sealing.
Hardwood and Engineered Wood Floors
Wood floors require careful evaluation after tenant move-out. Surface scratches, dull finish, and minor scuffs may be corrected with cleaning, screening, and recoating. Deep gouges, pet stains, cupping, buckling, or water-damaged boards may require board replacement or refinishing.
Because sanding and refinishing create dust and require cure time, schedule wood floor work after major wall repairs but before the very final cleaning. If painting is also needed, many managers prefer to complete most painting first, then refinish floors, then return for careful touch-ups if necessary.
Luxury Vinyl, Laminate, and Sheet Flooring
Luxury vinyl, laminate, and sheet flooring should be checked for lifting seams, curled edges, cuts, stains, plank separation, and moisture damage. These materials can be very practical in rental homes, but they are not immune to damage from standing water, pet accidents, or improper cleaning products.
For floating floors, check transitions, doorways, and areas near appliances where movement or moisture may show first. A few damaged planks may be replaceable if matching material is available.

Address Kitchens After Heavy Cleaning but Before Final Detail Work
Kitchens should be restored after initial degreasing and inspection but before final floor finishing and final cleaning. Cooking residue, appliance movement, plumbing repairs, and cabinet work can all create messes that affect nearby surfaces.
Start with appliances, plumbing fixtures, counters, cabinets, and ventilation. Pull out the refrigerator and range when possible to clean behind and beneath them. Check for pest evidence, water staining, damaged flooring, missing anti-tip brackets, loose outlets, and grease buildup.
Appliances and Fixtures
Test every appliance before assuming it only needs cleaning. Run the dishwasher through a cycle, check the refrigerator and freezer temperatures, test all burners and the oven, and confirm that the garbage disposal works without leaking.
Sink areas should be inspected for leaks, loose faucets, slow drains, swollen cabinet bases, and deteriorated caulk. If water has damaged the cabinet floor, repair or replace the affected material before placing a new tenant.
Counters, Backsplashes, and Cabinets
Counters should be cleaned and checked for burns, chips, lifting laminate, cracked seams, and failed caulk where the counter meets the wall or backsplash. Small repairs may be enough for a durable rental-grade surface, but loose or water-damaged sections should be corrected before they worsen.
Backsplashes and cabinet surfaces should be restored before final cleaning. Grease removal, grout cleaning, touch-up painting, and hardware replacement can all create residue. Once these tasks are complete, the kitchen can receive a final wipe-down that leaves surfaces ready for showing or occupancy.
Need help with What to Restore First After Tenant Move-Out: Floors, Grout, Showers, and More?