

A shower should feel fresh, clean, and restorative, not like a damp corner where mold and mildew can quietly take over. Because showers combine moisture, warmth, soap residue, skin cells, and limited airflow, they are one of the most mold-prone areas in the home.
The good news is that prevention is far easier than removal. With the right daily habits, smarter ventilation, better cleaning methods, and a few maintenance upgrades, you can keep your shower cleaner for longer while protecting grout, caulk, tile, glass, and indoor air quality.
Why Showers Become a Perfect Habitat
Mold and mildew thrive when three conditions are present: moisture, organic material, and time. Your shower supplies all three almost every day. Water collects on walls, doors, curtains, grout lines, caulk seams, shampoo bottles, and corners. Soap scum, body oils, hair products, and dead skin cells create a thin film that gives microorganisms something to feed on. If the area stays damp for several hours, spores can settle and begin growing.
Mildew is often the light, powdery growth you see on shower curtains, tile edges, and silicone caulk. It may appear white, gray, or faintly yellow at first. Mold can be darker, fuzzier, or more deeply rooted, especially when it grows into porous grout, old caulk, drywall, or wood behind a damaged wall. Both are signs that the shower environment is staying too wet for too long.
Another reason showers are vulnerable is that modern bathrooms are frequently built for privacy and comfort, not airflow. Small rooms, closed doors, weak exhaust fans, recessed niches, and frameless glass corners can trap humidity. Even a beautiful, recently remodeled shower can develop problems if moisture is allowed to linger after every use.

Control Moisture Immediately After Every Shower
The single most effective habit is removing water before it has time to sit. After showering, use a squeegee on glass doors, tile walls, and flat surfaces. This takes less than a minute, but it dramatically reduces the moisture available for mold and mildew. Focus especially on lower wall sections, corners, ledges, niches, and door tracks where droplets gather.
Next, use a microfiber towel to wipe problem areas such as caulk lines, the top of tub ledges, benches, metal trim, and the base of glass panels. These locations often stay damp long after the visible walls look dry. If you have natural stone, wiping is even more important because stone and grout can absorb moisture more readily than glazed ceramic tile.
Keep shower doors or curtains open after use. A curtain bunched tightly to one side stays wet in its folds, which is why mildew often appears along the bottom hem. Spread the curtain out so air can move across the surface. If you have sliding glass doors, leave both panels slightly open if possible to improve airflow inside the enclosure.
Upgrade Ventilation Before Mold Has a Chance
Ventilation is not optional in a mold-resistant bathroom. A good exhaust fan pulls humid air out of the room before it condenses on walls, mirrors, ceilings, and shower surfaces. Run the fan during every shower and keep it on for at least 20 minutes afterward. In bathrooms with poor airflow, long showers, or no window, 30 minutes may be more realistic.
Many bathrooms have fans that are too weak, too loud, clogged with dust, or vented improperly. A fan that simply moves moist air into an attic can create a much bigger mold problem above the bathroom. Exhaust fans should vent outdoors. If your mirror stays foggy for a long time or the ceiling feels damp after bathing, your ventilation may not be doing enough.

When choosing or replacing a fan, look for a model properly sized for the room and quiet enough that people will actually use it. A timer switch or humidity-sensing switch is a worthwhile upgrade because it prevents the fan from being turned off too soon. You can compare performance and efficiency concepts through ENERGY STAR guidance for ventilating fans when evaluating options.
Clean Smarter, Not Just Harder
Preventive cleaning is more effective than aggressive scrubbing after growth appears. The goal is to remove the invisible film that supports mold and mildew before it becomes visible. Once a week, clean shower walls, floors, doors, fixtures, and shelves with a bathroom cleaner appropriate for your surface. Pay special attention to grout lines, around the drain, corners, and the underside of bottles.
Soap scum is one of the biggest contributors to mildew. Traditional bar soap often leaves more residue than body wash, especially in hard water areas. If you notice a chalky film on glass or tile, use a cleaner designed to break down mineral deposits and soap residue. For routine maintenance, a mild detergent, warm water, and a soft brush can be enough when used consistently.
Avoid assuming that stronger chemicals always mean better prevention. Harsh cleaners can degrade grout sealers, discolor metal finishes, and weaken silicone caulk over time. Bleach may lighten surface stains, but it does not always penetrate porous materials where roots may remain. For larger or persistent growth, review EPA guidance on mold cleanup so you know when simple cleaning is appropriate and when more caution is needed.
Give Grout and Caulk the Attention They Deserve
Grout and caulk are the weak points in most showers. Tile itself is usually water-resistant, but the joints between tiles and the seams where surfaces meet are more vulnerable. Cement-based grout is porous unless sealed, which means it can absorb water and staining materials. Old caulk can crack, peel, or separate from the wall, creating hidden pockets where water collects.
Inspect grout lines monthly. Look for darkening, crumbling, cracks, missing sections, or areas that stay damp longer than surrounding surfaces. If grout is stained but intact, deep cleaning and resealing may help. If it is cracked or loose, it should be repaired before water can migrate behind the tile. A small gap can eventually lead to loose tiles, swollen backer board, and hidden mold.
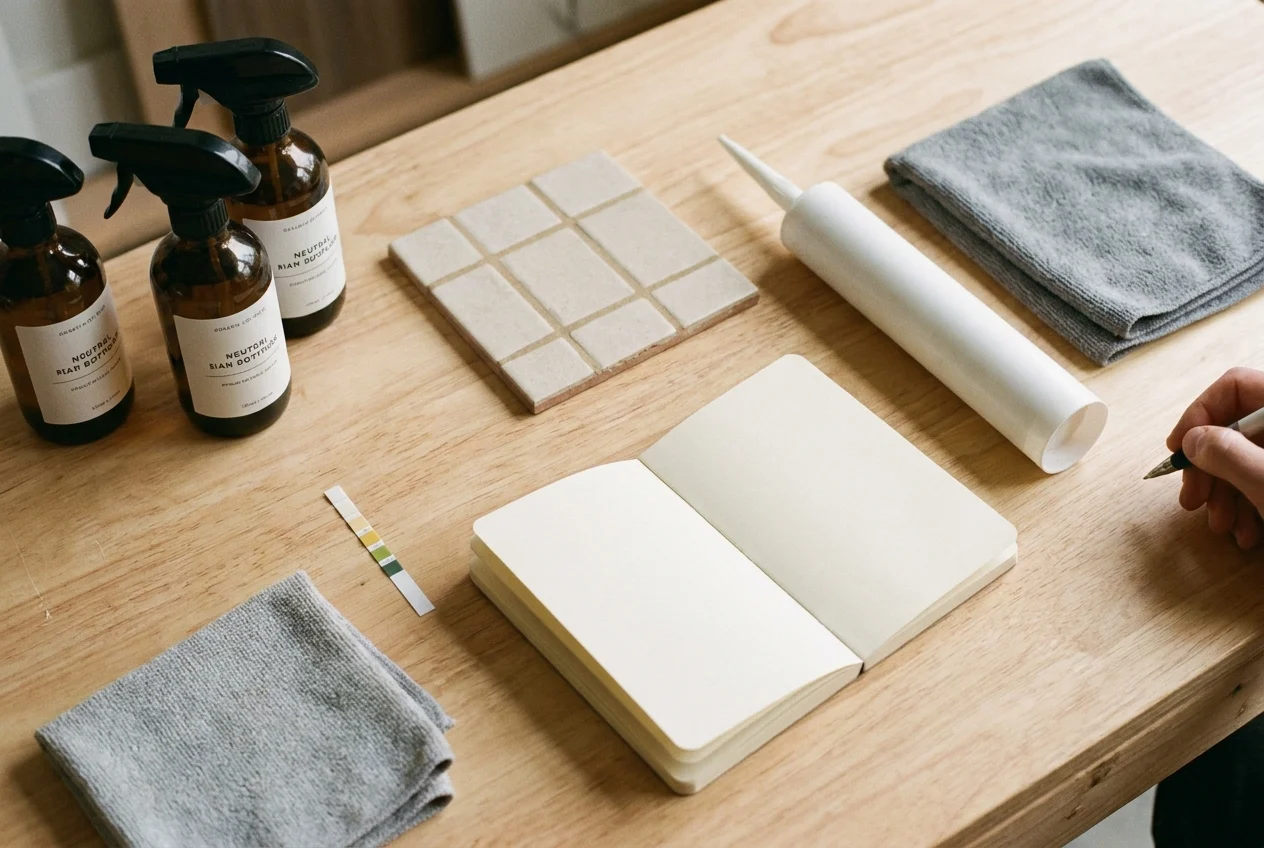
Caulk deserves the same attention. Silicone caulk around tubs, shower pans, corners, and glass frames should form a continuous flexible seal. If you see black staining embedded in the caulk, or if it has pulled away, replacement is usually better than repeated surface cleaning. Remove the old caulk completely, let the area dry thoroughly, then apply a high-quality bathroom-rated silicone sealant.
Reduce Clutter and Improve Surface Drying
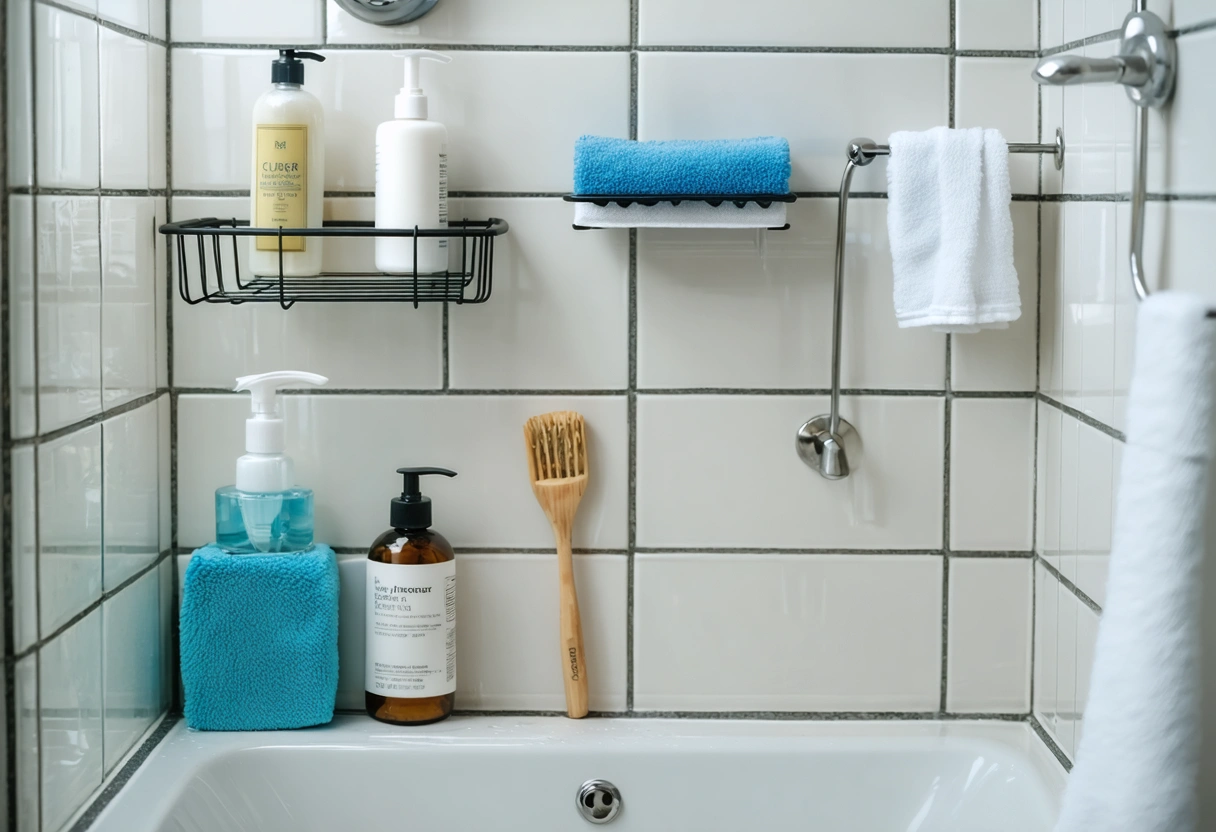
Every bottle, razor, sponge, loofah, and soap dish in the shower creates another place for water to hide. Bottles sitting directly on tile or ledges trap moisture underneath, leaving circular mildew marks and sticky residue. Loofahs and washcloths can remain damp for hours, especially when hung in a poorly ventilated corner.
Use open wire or slotted organizers that allow drainage and airflow. Avoid solid-bottom caddies unless they are cleaned frequently. Store only the products you use regularly, and wipe underneath them once a week. If possible, keep backup products outside the shower in a dry cabinet rather than lining them along the walls.
Replace plastic loofahs, bath poufs, and natural sponges regularly. They hold moisture and organic matter, making them a convenient breeding ground for bacteria and mildew. Hang washcloths where they can fully dry, not over a hook inside a wet shower stall. A small change in storage can make a large difference in how quickly the enclosure dries.
Choose Mold-Resistant Materials and Design Details
If you are remodeling or upgrading a shower, prevention should be built into the design. Large-format tile has fewer grout lines, which means fewer porous joints to maintain. Epoxy grout is more stain-resistant and less absorbent than traditional cement grout, although it must be installed carefully. Smooth, nonporous wall panels can also be easier to keep dry than heavily textured surfaces.
Slope matters. Shower benches
should be pitched slightly toward the drain so water does not pool along the back edge. Niches should have sloped shelves, and shower curbs should direct water inward. Even tiny flat spots can create chronic damp zones that attract mildew. During installation, insist on proper waterproofing behind tile, not just attractive finishes on the surface.
Glass doors and metal tracks also deserve careful thought. Frameless designs often dry faster because they have fewer grooves and channels. If you prefer framed or sliding doors, clean the tracks frequently and make sure drain holes remain open. A beautiful shower that traps water in hardware will always require more maintenance than one designed to shed water efficiently.
Manage Humidity Throughout the Bathroom
Shower prevention is not limited to the shower enclosure. If the entire bathroom remains humid, towels, walls, ceilings, trim, and cabinets can all contribute to the problem. Keep the bathroom door open after bathing when privacy is no longer needed, especially if the room lacks a window. In humid climates or basement bathrooms, a small dehumidifier may be useful during wet seasons.
Watch for signs that humidity is affecting the larger room. Peeling paint, musty odors, recurring ceiling spots, damp bath mats, and swollen baseboards are warnings that moisture is not being controlled. The CDC information on mold and health explains why reducing dampness indoors is important, especially for people with allergies, asthma, or respiratory sensitivities.
Wash bath mats regularly and hang them to dry between uses. A thick mat left on the floor can keep tile and grout damp underneath. Choose quick-drying fabrics, and avoid placing storage baskets, hampers, or wooden stools where shower steam constantly settles on them.
Know When Prevention Requires Repair
Sometimes repeated mildew is not a cleaning failure. It may be a sign of a leak, poor slope, failed waterproofing, cracked grout, or moisture trapped behind surfaces.
Address plumbing leaks promptly, even small drips from shower valves, heads, or supply lines. Water behind the wall can feed hidden mold long before anything appears on the tile face.
Build a Drying Routine That Lasts
The best defense against shower mold and mildew is consistency. Squeegee wet surfaces, run the exhaust fan, keep products off damp ledges, clean away soap residue, and maintain grout and caulk before small issues become expensive repairs.
Think of your shower as a space that must dry completely every day. When water drains properly, air moves freely, surfaces stay clean, and seals remain intact, mold and mildew lose their advantage.
Need help with Expert Tips for Preventing Mold and Mildew in Your Shower?