
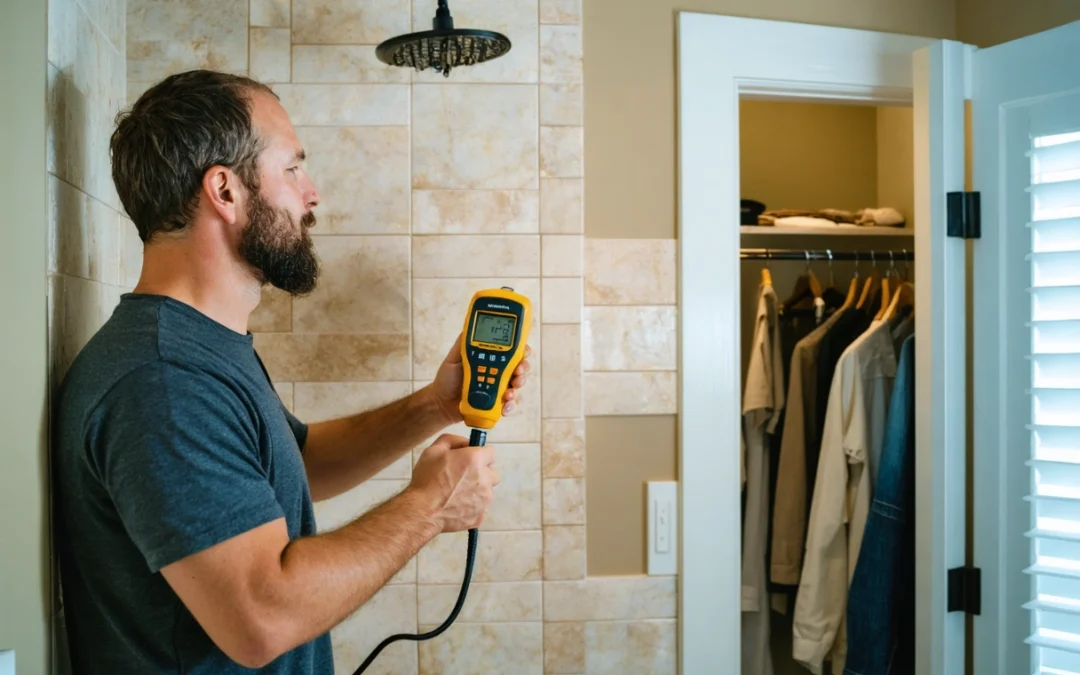
A shower leak behind tile can remain hidden for weeks or months while moisture damages drywall, framing, flooring, and nearby rooms. Because tile and grout are not the shower’s primary waterproofing system, a surface that looks intact may still conceal a failed membrane, damaged plumbing connection, or improperly sealed penetration.
Homeowners and property managers in Lee, Charlotte, and Sarasota Counties should pay particular attention to subtle moisture changes. Florida’s humid climate can make shower leaks harder to distinguish from ordinary condensation, but recognizing the warning signs early can help limit structural damage, mold growth, and costly restoration work.
Common Warning Signs of Hidden Shower Water Damage
One of the clearest warning signs is a persistent musty odor near the shower, an adjoining closet, or the room on the opposite side of the shower wall.
Visible changes outside the shower can also reveal a concealed leak. Look for peeling paint, bubbling drywall, stained ceilings, swollen trim, loose baseboards, or flooring that feels soft near the bathroom.
Loose Tile, Cracked Grout, and Failed Caulk
Cracked grout or separated caulk does not always prove that water is leaking behind the tile, but it can create an entry point for moisture and signal movement within the shower assembly.
Repeated grout cracking in the same location can be especially concerning. This often occurs at corners, around the shower curb, near plumbing fixtures, or where different surfaces meet.
Changes in Water Use or Indoor Moisture
An unexplained increase in the water bill may point to a plumbing leak inside the shower wall, particularly when no fixtures are visibly dripping. Dampness that appears even when the shower has not been used may suggest a leaking supply line rather than water escaping through grout, caulk, or the drain assembly.
Excess moisture may also cause recurring mildew, persistent condensation, or elevated humidity in nearby spaces. Although ventilation problems can produce similar symptoms, moisture that remains concentrated around one wall or section of flooring should be investigated more closely.
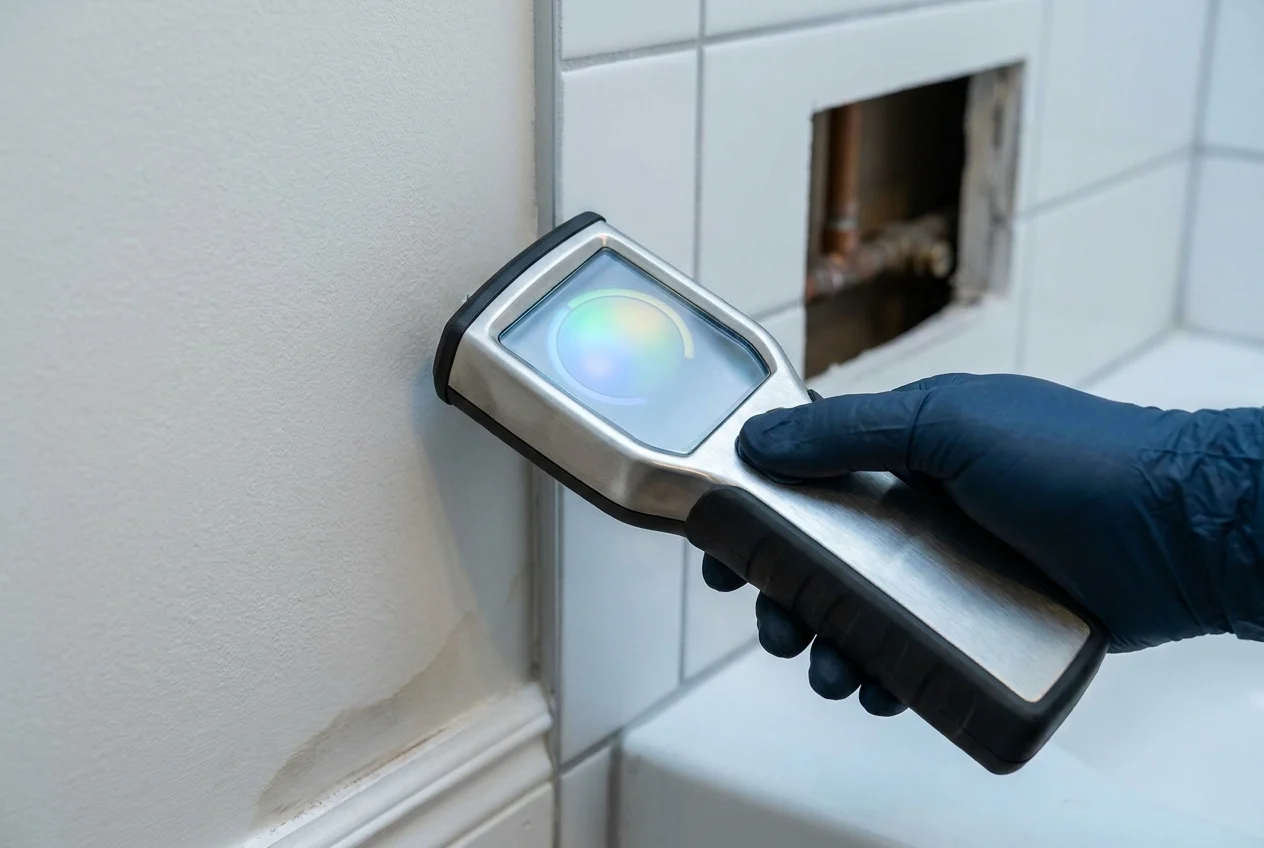
Where Hidden Shower Leaks Commonly Begin
A tiled shower relies on several connected components to control water. These include the tile surface, grout joints, sealant, waterproof membrane, plumbing penetrations, shower pan, curb, and drain assembly.
Finding the true origin can be difficult because water follows gravity, framing, fasteners, and gaps between materials. A stain near the shower curb, for example, could originate from a failed corner joint, an improperly waterproofed curb, or a drain connection several feet away.
Plumbing Fixtures and Wall Penetrations
The shower valve, showerhead arm, handheld shower connection, and body spray fittings all pass through the waterproofed wall. Missing seals, loose fittings, or leaking connections can release water into the wall cavity each time the shower operates.
Leaks behind plumbing trim may not be visible from inside the shower. Water can run down the back of the wall, collect near the floor, and damage adjoining rooms before staining becomes obvious.
Shower Pan, Drain, and Curb Failures
The shower pan and waterproof membrane are designed to direct water toward the drain. If the membrane is punctured, poorly connected to the drain, or installed without proper slope, moisture can collect beneath the tile instead of draining correctly.
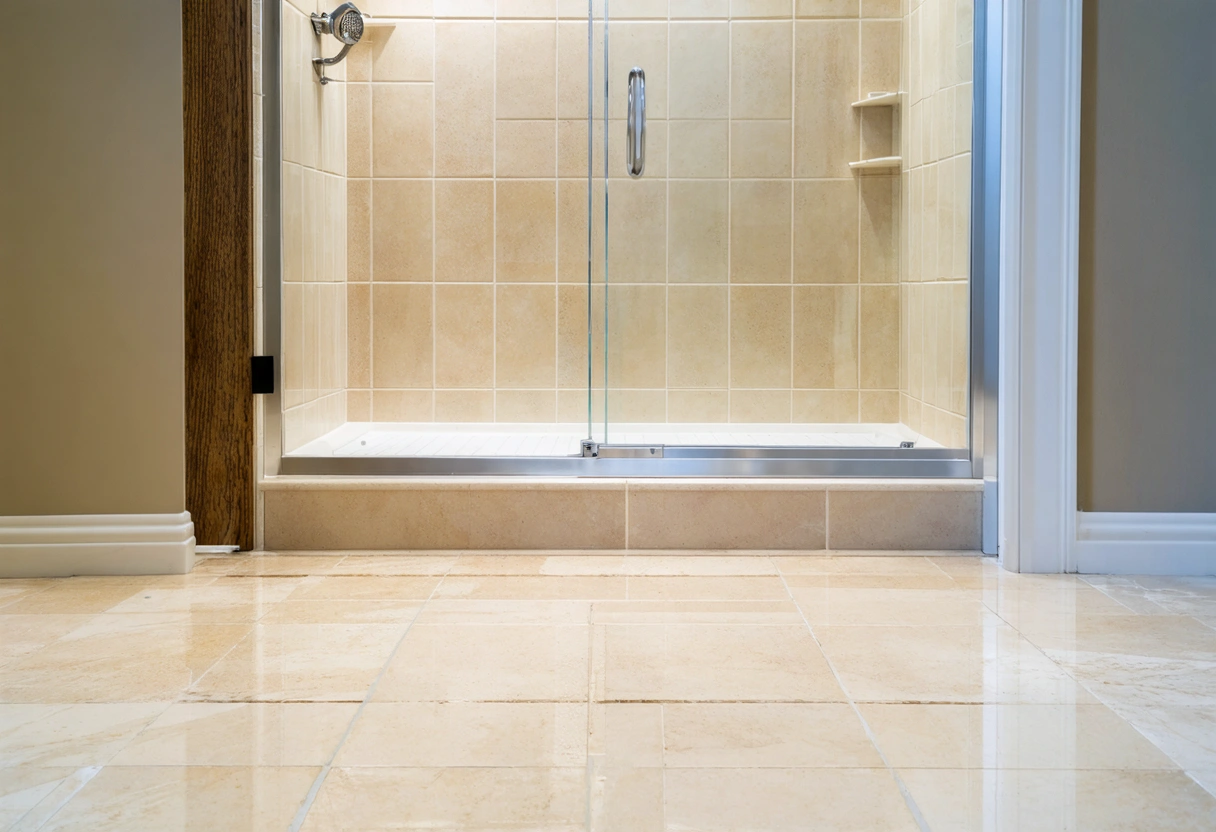
Curbs are another common trouble area because they receive frequent exposure to water and must be waterproofed without unnecessary fastener penetrations. Swollen trim, damp flooring, or discoloration near the outside corners of the shower entrance may indicate that water is escaping through the curb or adjacent joints.
How to Check for a Shower Leak Without Removing Tile
Several basic observations can help determine when and where moisture appears. These checks cannot confirm the condition of the concealed waterproofing system, but they can provide useful information before a professional inspection.
Inspect the Adjoining Rooms
Examine the walls, baseboards, flooring, and closets that share a wall with the shower. Use bright lighting to look for faint stains, paint changes, raised drywall seams, corrosion around fasteners, or trim that has pulled away from the wall.
If the shower is located above another room, inspect the ceiling below it before and after shower use. Marking the edge of a stain with a pencil can help reveal whether the affected area is expanding.
Check the Plumbing Access Area
Some showers have an access panel behind the valve or along an adjoining wall. If one is available, inspect the cavity with a flashlight while the shower is off and again while it is running.
Do not open a wall near plumbing or electrical components unless you know what is behind the surface. A professional can often use a small inspection opening, moisture meter, or camera to investigate while limiting unnecessary damage.
Observe When the Moisture Appears
The timing of the moisture can offer clues about the source. Dampness that develops whenever the shower valve is turned on may be related to a pressurized supply connection.
Moisture that becomes noticeable after water has been allowed to collect on the shower floor may point toward the pan, drain, curb, or lower wall assembly.
Perform a Careful Visual Spray Check
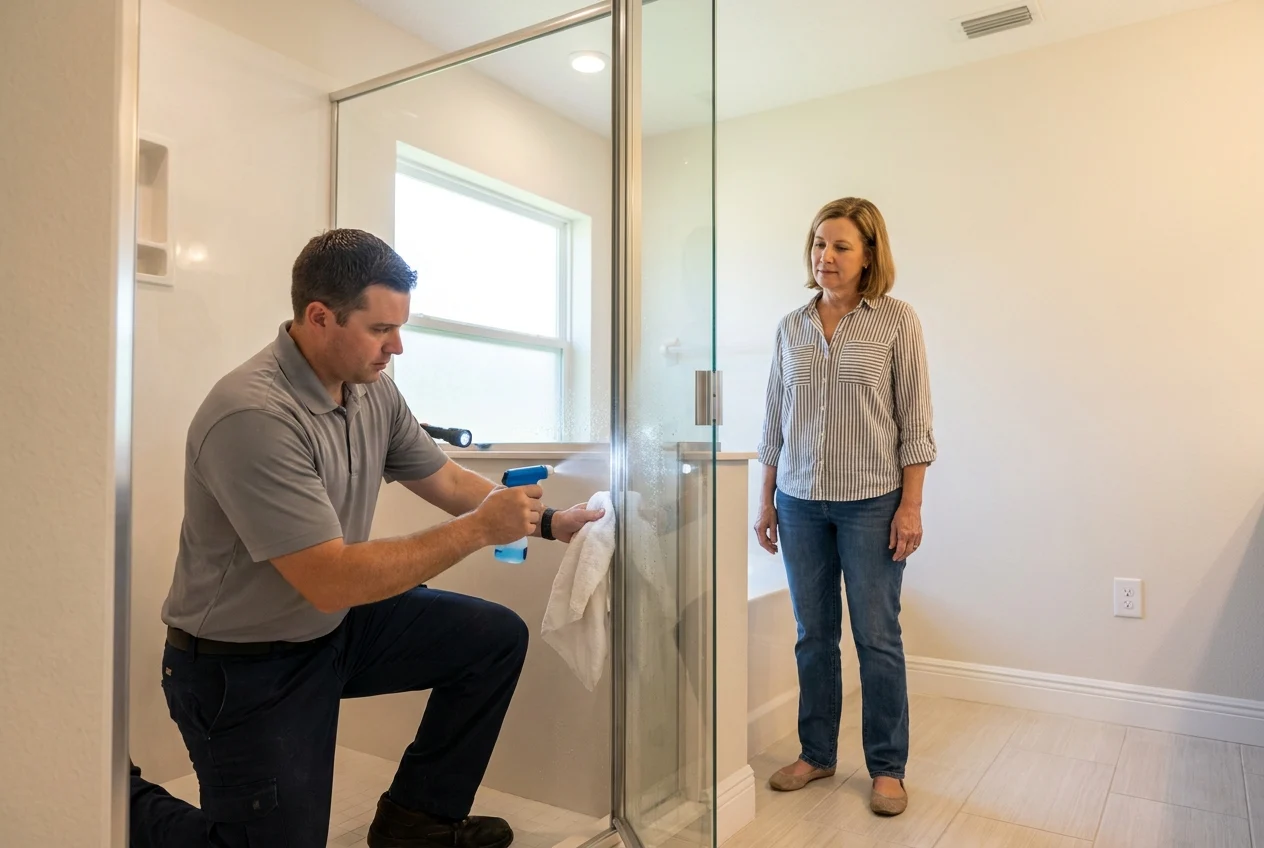
With another person watching the adjoining area, direct water at one shower section at a time. Begin low and avoid spraying the valve, door, corners, and upper walls simultaneously.
This method should be stopped immediately if water appears outside the enclosure or near electrical outlets. It should not be used when the floor feels unstable, the ceiling below is sagging, or significant water damage is already present.
How Professionals Locate a Leak Behind Shower Tile
A reliable diagnosis often requires separating plumbing leaks from failures in the tiled shower assembly. Professional testing is performed methodically so that one component can be evaluated without flooding every possible entry point at once.
Moisture Meter and Thermal Imaging Inspections
Moisture meters can identify elevated readings in drywall, wood, and other materials near the shower. Thermal imaging may reveal temperature differences associated with damp areas, although it does not detect water directly.
Florida humidity can affect readings, so a high measurement alone does not establish the leak source. Comparing the suspected area with dry materials nearby helps determine whether moisture is concentrated around the shower or distributed more broadly because of indoor humidity.
Controlled Plumbing and Spray Testing
A technician may test the showerhead, valve trim, door, wall joints, curb, and other components separately. This controlled process helps identify whether water enters through a specific penetration or only appears when the shower floor and drain are in use.
Supply lines may also require pressure testing by a qualified plumbing professional. If water enters the wall even when the tiled surfaces remain dry, the problem is more likely to involve plumbing than grout or waterproofing.
Shower Pan and Drain Testing
A shower pan test may involve sealing the drain and placing a controlled amount of water in the base while monitoring the level and surrounding materials.
A falling water level does not automatically identify the precise defect. The leak could be located at the drain connection, membrane, corner, curb, or another transition.
Condensation Versus a Leak Behind the Tile
Condensation commonly forms when warm shower steam contacts cooler walls, windows, mirrors, or metal fixtures. It usually appears across exposed surfaces and begins to dry after the shower stops, especially when the exhaust fan is operating properly.
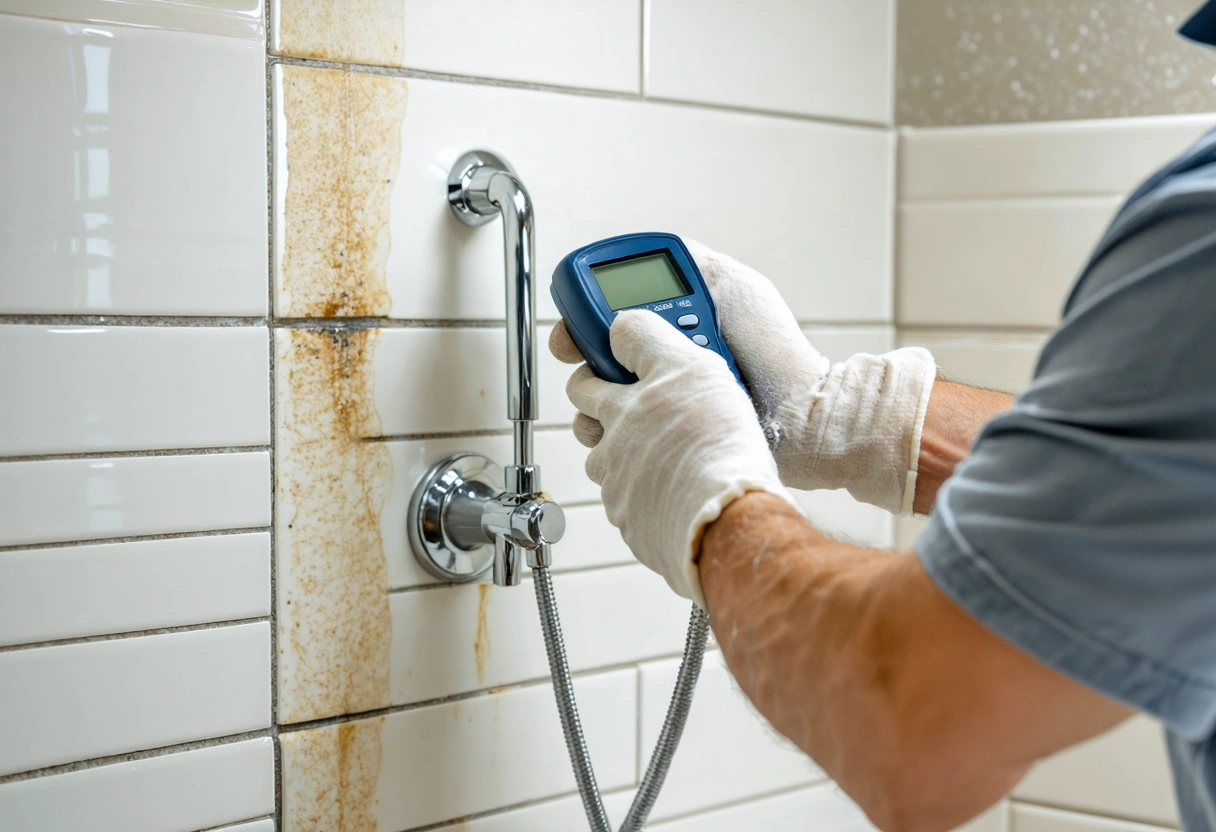
A concealed leak tends to create recurring moisture in the same localized area. It may leave stains, softened materials, mineral deposits, swollen trim, or a musty odor that remains after visible condensation has dried.
Ventilation should still be evaluated because poor airflow can worsen both conditions. An undersized fan, clogged duct, closed bathroom door, or fan that vents into an attic can allow humidity to remain elevated.
Why Regrouting May Not Stop a Hidden Shower Leak
New grout can improve the appearance of a shower and close deteriorated joints, but grout is not a substitute for a complete waterproofing system. Cement based grout can absorb moisture, and even properly maintained joints allow some water exposure during normal use.
Applying grout, caulk, or a clear sealer over an active leak may temporarily change the symptoms without correcting the underlying failure. Moisture already trapped behind the tile can remain inside the assembly and continue damaging the substrate.
Sealant replacement can be appropriate when the waterproofing system is sound and the problem is limited to a failed movement joint. Regrouting can also be effective when loose or deteriorated grout is only a surface maintenance issue.
What Happens If a Hidden Shower Leak Is Ignored
Water exposure can weaken drywall, backer materials, adhesives, and wood framing. Tile may become loose as the bonding material deteriorates, while subflooring near the curb or bathroom entrance can soften and lose structural strength.
Persistent moisture also creates conditions that support microbial growth. Mold may develop behind tile, inside wall cavities, beneath flooring, or on paper faced drywall without being visible from the bathroom.
In rental and vacation properties, intermittent occupancy can allow a minor leak to progress unnoticed. A shower used heavily by guests may release water repeatedly, while the property remains empty long enough for visible evidence to dry between visits.

Repair Options for a Leaking Tiled Shower
The correct repair depends on the source, extent of damage, and construction of the shower. A loose fixture connection may require plumbing work and limited access behind the valve.
If the waterproof membrane, shower pan, curb, or drain connection has failed, a surface patch may not provide a dependable repair. Tile and substrate may need to be removed so damaged materials can be replaced and the waterproofing system rebuilt correctly.
Localized tile removal may be possible when the defect is isolated and the surrounding waterproofing can be integrated reliably. More extensive deterioration often requires partial or complete shower reconstruction.
What to Do When You Suspect a Leak
Limit shower use until the source is identified, especially if moisture is spreading or materials feel soft. Dry visible water, improve ventilation, and document stains or changes with dated photographs.
Seek prompt professional evaluation if water is dripping into a lower level, mold is visible, tile is loose, flooring feels unstable, or electrical components are near the wet area.
Protecting Your Shower After Repair
Inspect sealant joints, grout, plumbing trim, the shower door, and the curb regularly. Address cracks, movement, and loose tile promptly rather than waiting for visible damage outside the bathroom.
A properly constructed tiled shower combines sound plumbing, correct slope, continuous waterproofing, suitable setting materials, and carefully finished transitions. When warning signs appear, identifying the actual source rather than relying on a cosmetic repair provides the best protection for the surrounding walls, flooring, and structure.
Need help with How to Tell If Your Shower Is Leaking Behind the Tile?

