
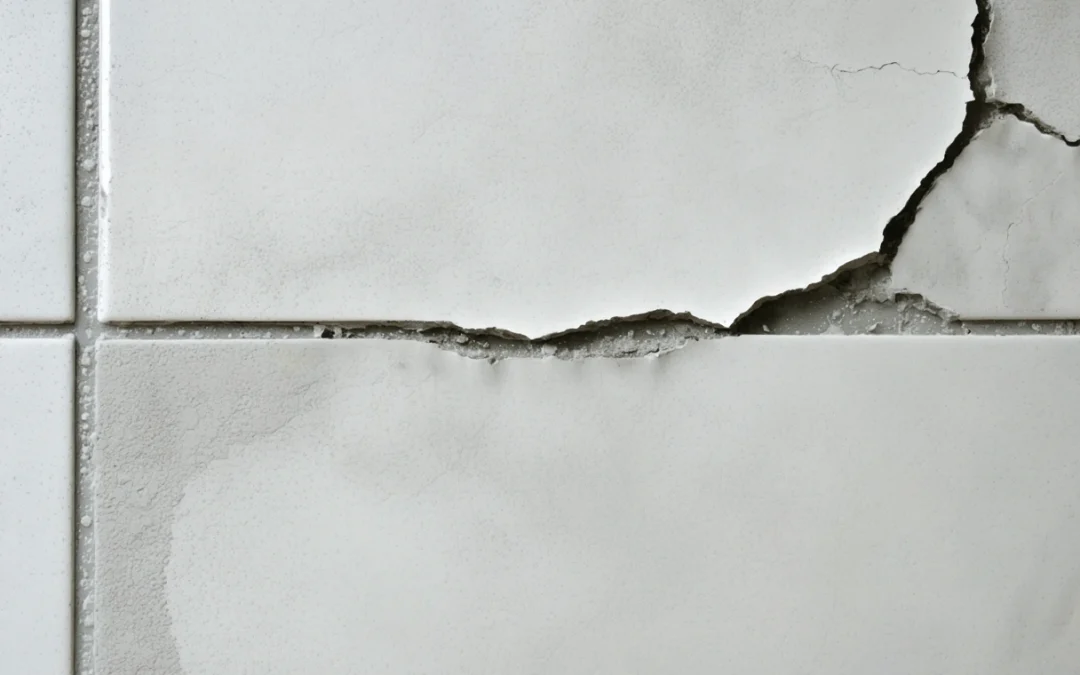
A small crack in shower grout may look harmless, but it can signal a weakening joint and create a path for moisture to reach areas that are difficult to inspect. Because showers are exposed to frequent water, heat, and humidity, damaged grout can worsen faster than grout in a dry part of the home.
Knowing what caused the crack and how extensive it is can help you decide whether a simple grout repair is appropriate or whether the shower needs closer evaluation. Addressing the problem early can protect surrounding tile, reduce the risk of hidden moisture damage, and prevent a minor maintenance task from becoming a costly project.
What Cracks in Shower Grout Can Tell You
Grout fills the joints between tiles and helps limit water intrusion, but it is not designed to withstand significant movement. Cracks often develop when building materials expand, contract, shift, or flex. Normal aging can also make grout brittle, especially if it was mixed incorrectly, applied too thinly, or exposed to harsh cleaning products.
The location and pattern of the damage provide useful clues. A short, isolated hairline crack may be caused by minor shrinkage or a small installation defect. Repeated cracks across several joints, loose tiles, or grout that crumbles when touched may indicate movement in the tile assembly or deterioration below the surface.
Cracks at Corners and Changes of Plane
Vertical corners and joints where a shower wall meets the floor are especially prone to cracking because the adjoining surfaces can move independently. These changes of plane are generally better suited to a flexible sealant rated for wet areas rather than rigid grout. If grout was installed in these joints, cracking may continue even after the damaged material is replaced.
Cracks Around Individual Tiles
Cracking that outlines one tile can suggest that the tile is not fully bonded or that the surface behind it is flexing. Gently pressing the tile may reveal movement, but avoid using enough force to loosen it further. A hollow sound when the tile is tapped can be another warning sign, although it does not confirm the cause by itself.
When Shower Grout Needs Prompt Attention
Cracked grout should be evaluated as soon as it is noticed, particularly in a shower that is used every day. Repair becomes more urgent when a crack is widening, returning after previous repairs, or accompanied by discoloration, persistent musty odors, soft grout, loose tiles, or dampness outside the enclosure.
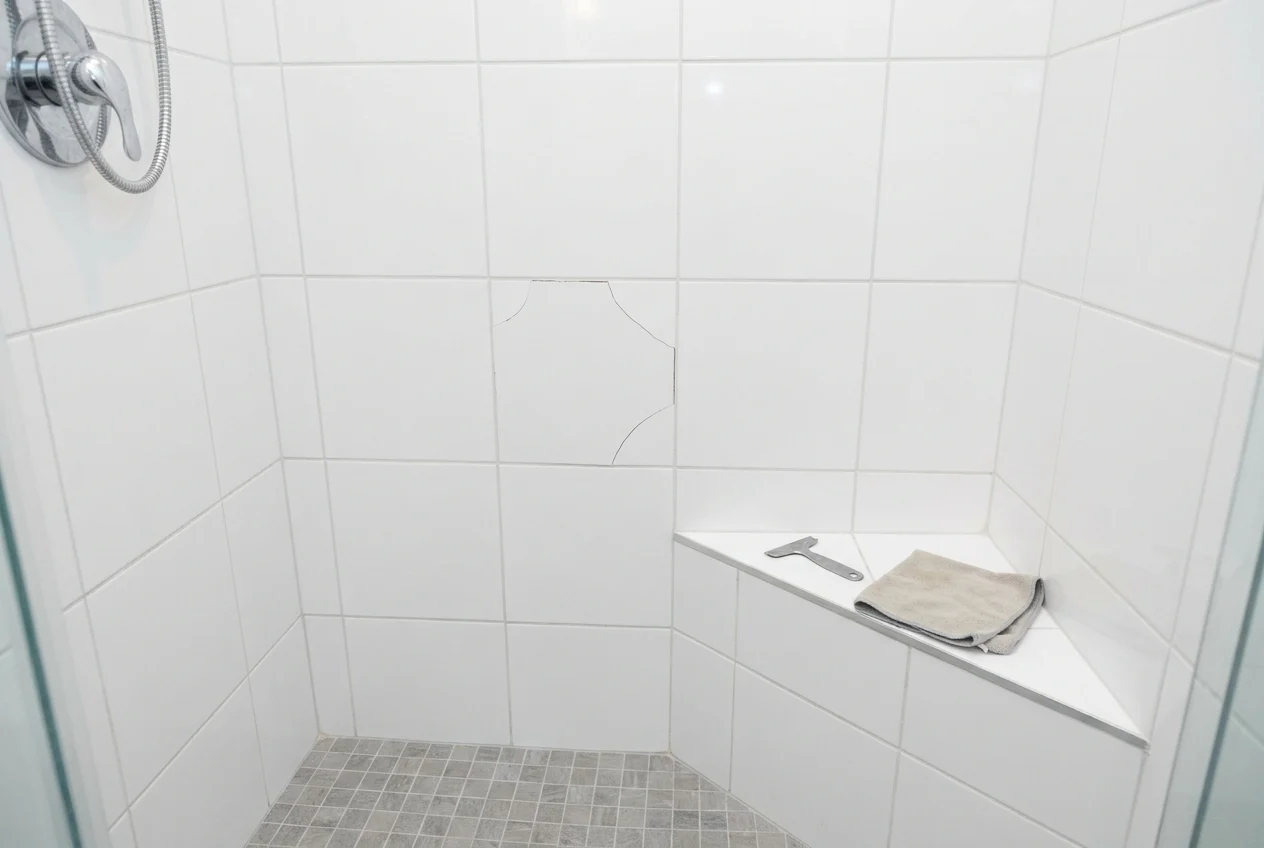
Visible mold or mildew near a damaged joint also deserves attention. Surface growth can result from ordinary bathroom humidity, but recurring staining may point to moisture remaining in or behind the tile assembly. Cleaning the surface without correcting the damaged joint can leave the underlying issue unresolved.
Signs That a Surface Repair May Be Sufficient
A localized repair may be appropriate when the crack is small, the surrounding grout remains firm, and nearby tiles are secure. The area should also dry normally between uses, with no evidence of moisture spreading to adjacent walls, flooring, or ceilings below the shower.
Even in these cases, new grout should not simply be smeared over the crack. Loose material must be removed to a suitable depth, the joint must be cleaned, and the replacement product must be compatible with the existing installation. Proper preparation gives the repair a better chance of bonding and lasting.
Warning Signs of a Deeper Problem
Multiple cracked joints, bulging surfaces, loose tiles, or damage that quickly returns can indicate movement or moisture problems beneath the tile. These symptoms may be associated with an unstable substrate, poor tile adhesion, failed waterproofing, or deterioration of the wall or floor assembly.
In these situations, repeatedly patching the grout can hide the symptoms without correcting the cause. A more thorough inspection may be needed to determine whether the affected section should be opened, dried, reinforced, waterproofed, or rebuilt before the finished surface is restored.
Why Delaying a Grout Repair Can Be Costly
Tile and grout are not the primary waterproofing system in a properly built shower, but damaged joints can allow more water to reach the layers beneath the finished surface.
Moisture that remains trapped behind tile can contribute to mold growth, swollen wall materials, damaged framing, and weakened tile adhesion. It may also migrate beyond the shower and appear as peeling paint, stained baseboards, warped flooring, or ceiling discoloration in a room below.
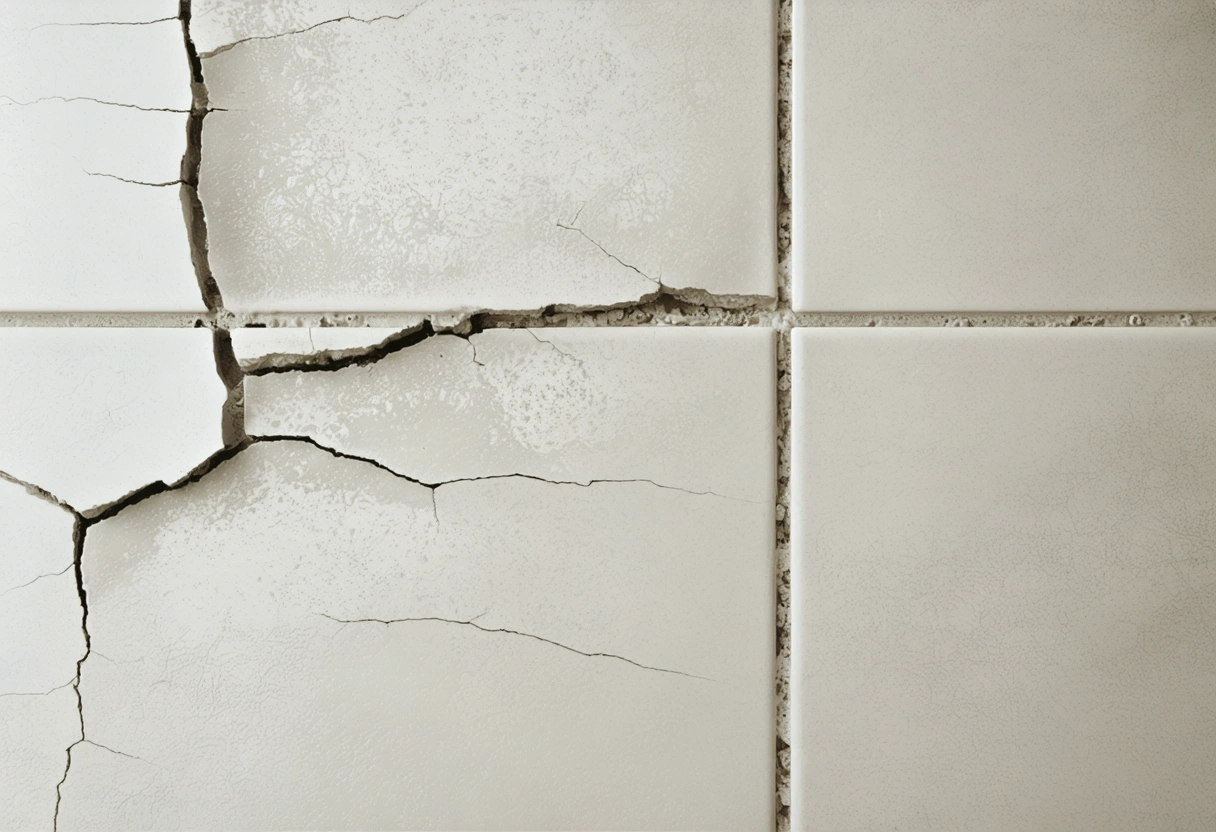
Cracks Often Grow With Continued Use
Every shower cycle exposes the installation to changes in temperature and moisture. Materials expand as they warm and absorb moisture, then contract as they cool and dry.
A small repair is generally easier when the surrounding tile remains stable. Once tiles loosen or the substrate begins to deteriorate, the work may require removing tile, replacing damaged backing material, and restoring the waterproofing system.
Temporary Patches Can Conceal Ongoing Damage
Applying new grout over cracked grout, covering the joint with a thin layer of sealant, or using a surface coating may improve its appearance briefly.
A patch that seals only the surface can also make it harder to monitor the joint. If moisture is already trapped behind the tile, covering the visible crack does not dry the assembly or restore failed waterproofing.
How to Repair a Small, Isolated Grout Crack
A do it yourself repair may be reasonable when the damage is limited, the tiles are firmly bonded, and there are no signs of moisture outside the shower.
Remove the Damaged Material
Use a grout removal tool suitable for the joint width to remove loose and cracked material. Work carefully to avoid chipping the tile edges or cutting into a waterproof membrane behind the surface.
Vacuum dust and debris from the joint, then clean away soap residue, oils, and remaining particles. Follow the replacement product’s instructions regarding cleaning methods and drying time.
Choose a Compatible Replacement Product
Grout products vary in composition, joint width requirements, curing procedures, and water resistance. Cement based grout, high performance grout, and premixed products are not always interchangeable.
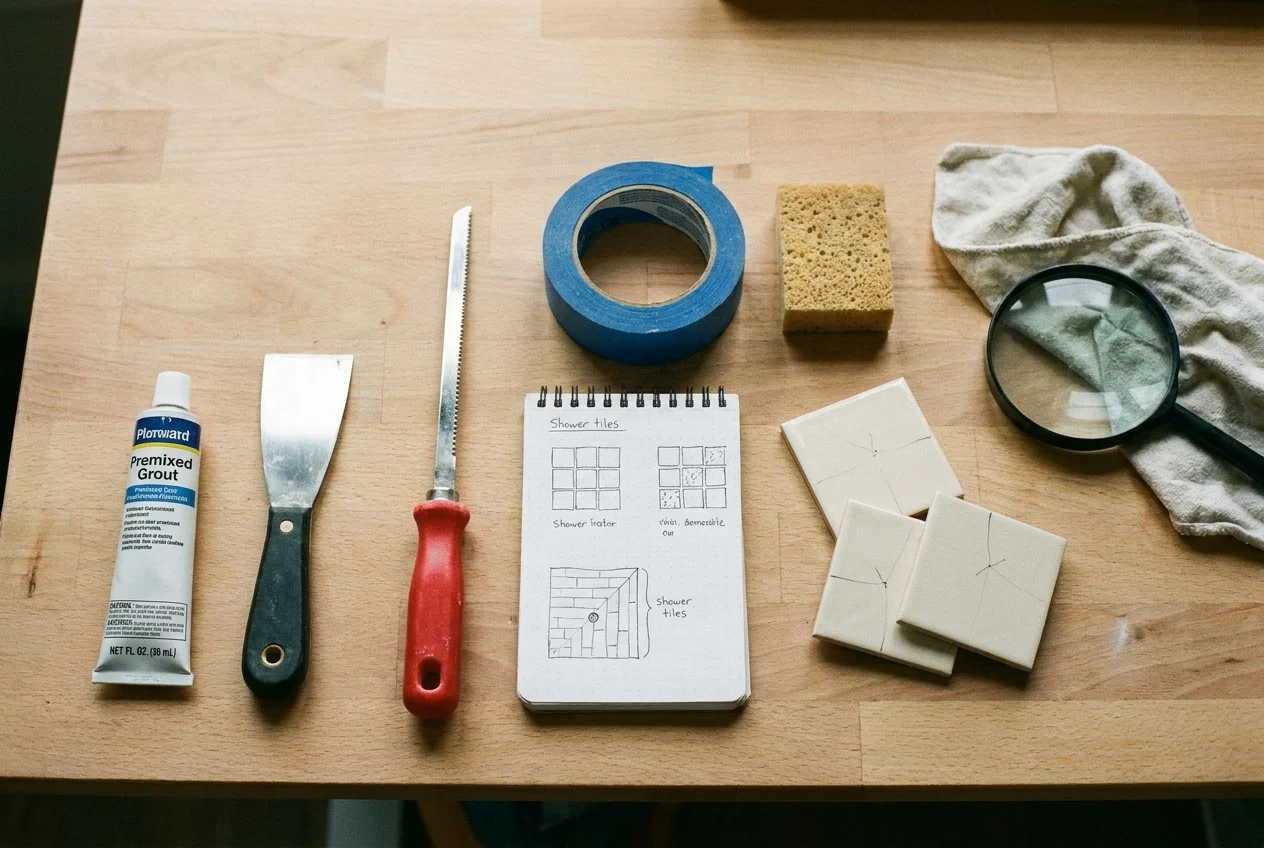
Matching the existing color can be difficult because old grout may have darkened, faded, or absorbed minerals over time. Testing the replacement in a small area can help reveal whether a broader section should be regrouted for a more consistent appearance.
Apply and Cure the New Grout Correctly
Pack replacement grout fully into the prepared joint and remove excess material according to the manufacturer’s directions. Avoid adding excessive water during mixing or cleanup, since too much water can weaken some grout products and cause uneven color.
Keep the shower out of service for the full curing period specified by the manufacturer. Grout that appears dry at the surface may still be curing internally.
When to Use Sealant Instead of Grout
Flexible sealant is generally more appropriate at changes of plane, including inside corners, wall to floor joints, and joints where tile meets a shower base or tub.
Choose a sealant labeled for showers or wet areas, such as a suitable one hundred percent silicone product. Kitchen and bath sealants are available in clear, white, and color matched options.
Replacing Failed Sealant
Old sealant should be removed completely before a new bead is applied. New silicone does not reliably bond to cured silicone, and residue can interfere with adhesion.
Apply enough sealant to bridge the joint and contact both tile surfaces. Tool the bead into a smooth profile without making it excessively thin. Do not use the shower until the sealant has completed its required cure time.

If the joint is unusually deep or wide, it may require properly sized backing material before sealing. Filling a deep cavity entirely with sealant can lead to poor curing, unnecessary product use, and an inflexible joint profile.
When Regrouting the Shower Makes More Sense
Spot repair is less practical when grout is cracked, missing, stained, or crumbling throughout a large portion of the shower. In that situation, removing and replacing grout across the affected walls or floor can create more reliable joints and a more uniform appearance.
Regrouting is still a surface level repair. It is appropriate only when the tiles and substrate are sound and the waterproofing system is not showing signs of failure.
Situations That May Require Tile Removal
Tile may need to be removed when cracks repeatedly form along the same line, several tiles move under light pressure, or the wall feels soft.
Opening the assembly allows the substrate, fasteners, seams, and waterproofing to be inspected. Any wet materials must be evaluated, and damaged components should be replaced before tile is reinstalled.
When to Call a Professional
Professional evaluation is advisable when the source of the cracking is unclear or the symptoms extend beyond a single joint. A qualified tile contractor can assess tile movement, substrate stability, joint placement, and installation quality.
Seek prompt help if water appears in an adjoining room, the ceiling below becomes stained, the shower floor feels unstable, or tiles begin detaching. A persistent musty odor, widespread mold, and rapidly recurring cracks also warrant closer investigation.
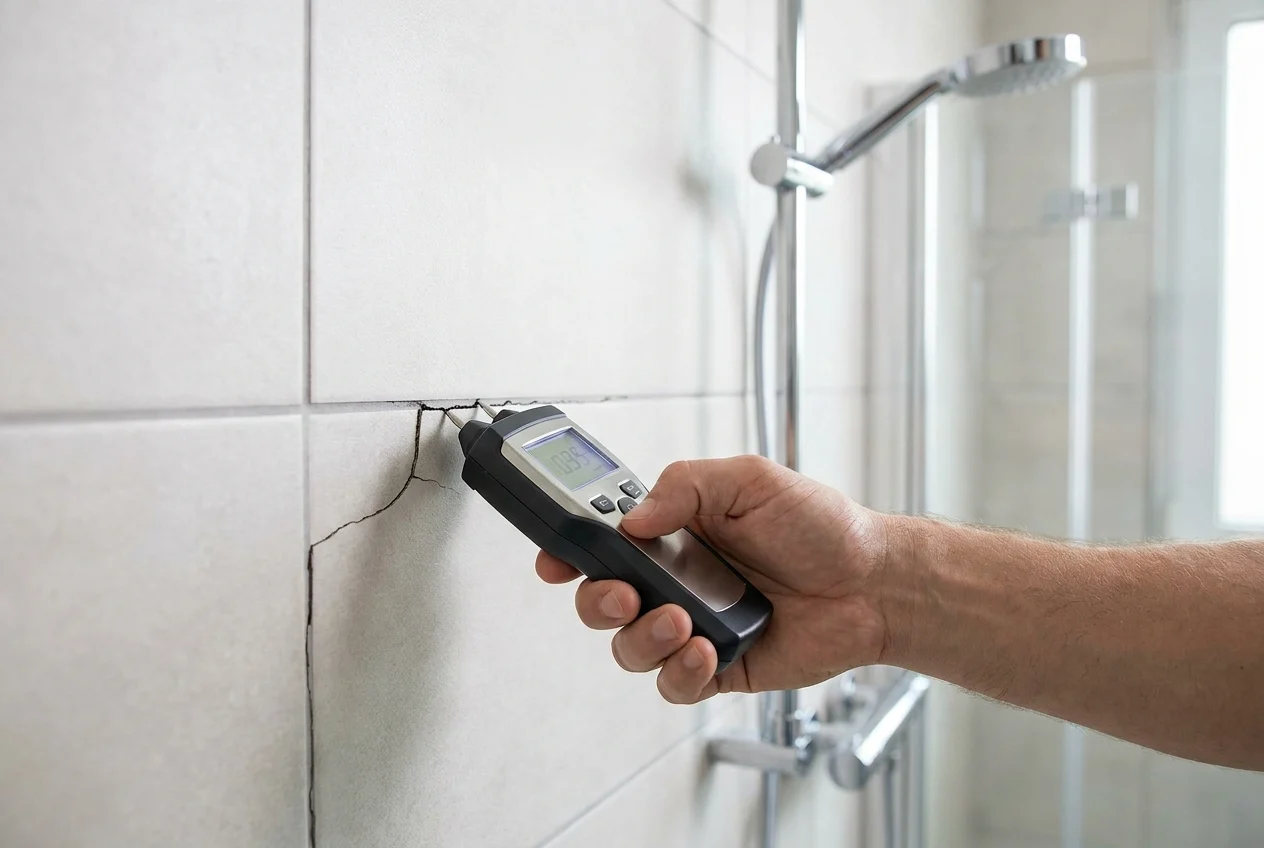
Moisture meters and other diagnostic tools can help identify areas that require further inspection, but readings must be interpreted carefully. Some tile materials, setting products, and metal components can affect results.
How to Reduce Future Grout Cracking
Preventive care cannot correct an unstable installation, but it can reduce avoidable stress and help small defects become visible before they spread. Inspect grout lines and flexible joints periodically, especially around corners, niches, benches, curbs, drains, and plumbing penetrations.
Control Moisture and Improve Drying
Run the bathroom exhaust fan during showers and long enough afterward to lower humidity. Leave the shower enclosure open when practical, remove standing water, and keep the drain clear.
Use Gentle Cleaning Methods
Avoid aggressive scrubbing tools and harsh chemicals that can erode grout or damage sealant. Use a cleaner approved for the tile, grout, and sealant, and rinse away residue thoroughly.
Maintain Sealant and Grout as Needed
Replace flexible sealant when it separates, hardens, cracks, or develops persistent staining. If the grout requires sealing, use a compatible penetrating sealer and follow the manufacturer’s maintenance schedule.
Repairing cracked shower grout promptly helps preserve the tile assembly and provides an opportunity to identify deeper problems before they spread. Small, stable cracks may need only careful joint preparation and replacement material, while recurring or widespread damage calls for professional evaluation.
Need help with Cracked Shower Grout: When to Repair It and Why You Shouldn’t Wait?

