

Newly installed flooring and tile can be especially vulnerable during the final stages of construction. Although the installation may be complete, painters, electricians, cabinet installers, appliance crews, and other trades may still need to move tools, ladders, carts, and materials through the property. Without proper protection, a finished surface can quickly develop scratches, chips, stains, or damaged grout.
A detailed protection plan helps builders, property managers, and homeowners preserve the quality of the completed work while keeping the project on schedule. This is particularly important in Southwest Florida, where sand, moisture, and construction debris can easily be tracked across tile, luxury vinyl plank, hardwood, and natural stone surfaces.
Identify Surface Risks Before Other Trades Enter
Every flooring material reacts differently to construction traffic and environmental conditions. Porcelain and ceramic tile are durable, but they can still be chipped by dropped tools or scratched by abrasive debris. Natural stone may absorb paint, oils, adhesives, or other liquids if it has not been properly sealed. Luxury vinyl plank can suffer dents from heavy equipment, while wood flooring may be affected by moisture, grit, and improper covering materials.
Before the next phase of work begins, inspect the installation and document its condition. Look for loose tiles, uneven transitions, exposed edges, incomplete grout joints, or areas where sealant still needs time to cure. Photographs can provide a useful record and help project managers distinguish installation concerns from damage caused by later construction activity.
Account for curing and drying requirements
Freshly installed flooring should not be covered or exposed to traffic until the setting materials, grout, sealers, or adhesives have cured according to the product requirements. Covering a surface too soon can trap moisture, interfere with curing, or leave marks that are difficult to remove. The required waiting period can vary based on the flooring system, indoor temperature, humidity, and the products used during installation.
Florida humidity can affect drying times, especially in properties where the air conditioning system is not yet operating consistently. The installation team and construction manager should confirm when light foot traffic, protective coverings, and heavier work can safely begin. Relying on visual appearance alone is not enough because grout or adhesive may look dry on the surface while remaining soft underneath.
Map traffic routes and active work zones
Designated walking paths reduce unnecessary traffic across finished rooms. Whenever possible, crews should enter through a controlled access point and follow a protected route to their work area. Materials, toolboxes, ladders, and waste should remain within assigned zones rather than being placed directly on completed flooring.
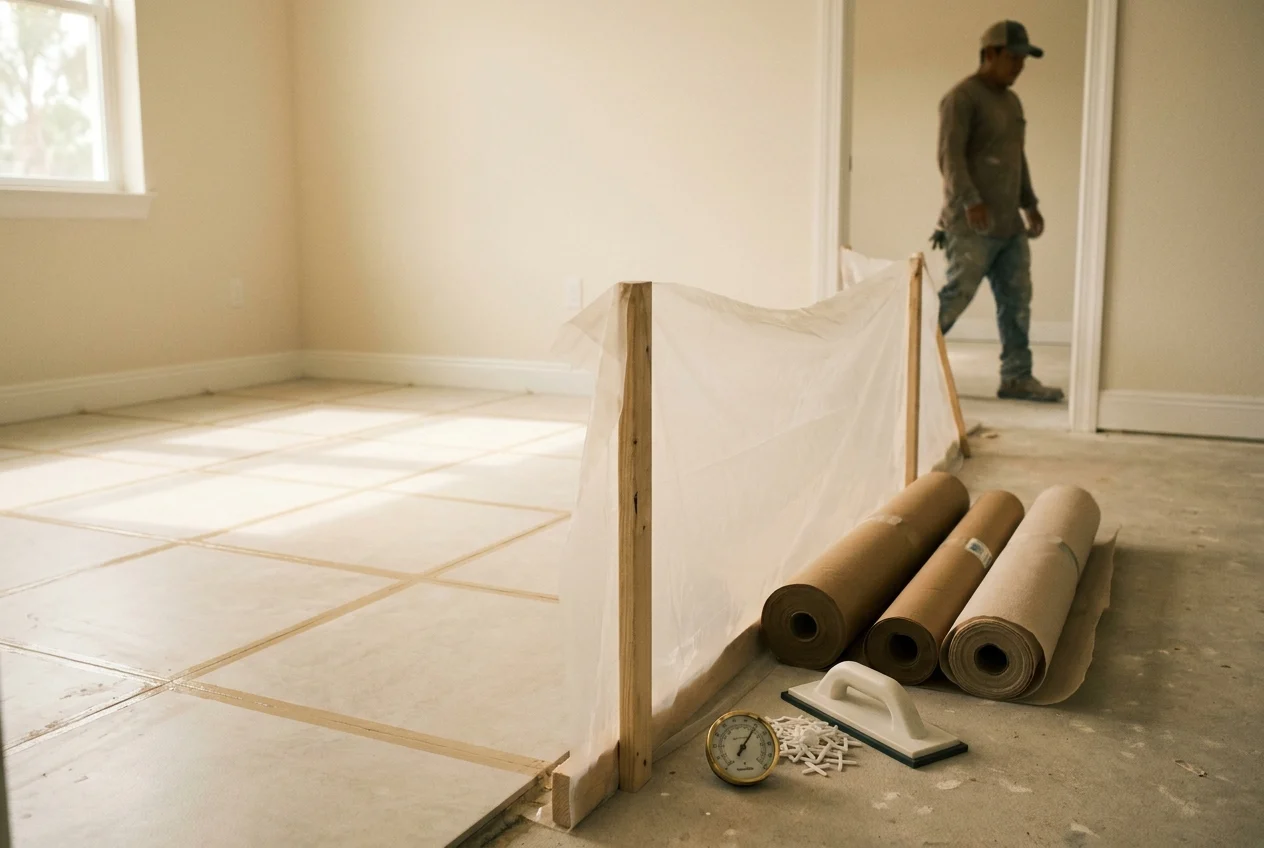
High risk areas often include entryways, hallways, kitchens, bathrooms, and spaces near exterior doors. These locations may require stronger protection because they experience frequent foot traffic and material movement. Door thresholds, tile corners, stair edges, and transitions between flooring materials also deserve special attention because they are more likely to be struck or crushed.
Choose Protection That Matches the Finished Surface
A suitable floor protection system should resist punctures, prevent debris from reaching the surface, and remain secure without damaging the finish. The correct material depends on the type of flooring, the expected traffic, and the remaining construction work. A lightweight covering may be adequate for final inspections, while appliance installation or cabinet work may require rigid panels and additional impact protection.
Protection should also be clean before it is installed. Reusing dusty cardboard, dirty drop cloths, or contaminated sheets can trap abrasive particles against the floor. As workers walk over the covering, those particles may grind into tile finishes, grout, wood coatings, or resilient flooring.
Avoid taping directly to finished floors
Construction tape should generally be applied to the protective material rather than directly to the flooring. Adhesive can leave residue, discolor certain finishes, or pull away coatings when removed. Tape may also react differently when exposed to heat, sunlight, or humidity for an extended period.
Covering seams should be secured so they do not create trip hazards or allow sand and debris to migrate underneath. The perimeter should remain stable, but ventilation requirements must also be considered for surfaces that are still curing. Manufacturer guidance and installer recommendations should determine which coverings and fastening methods are appropriate.
Use added reinforcement where equipment will be moved
Heavy appliances, rolling carts, scaffolding, and loaded dollies can place concentrated pressure on a finished floor. Protective paper or film alone may not distribute that weight effectively.
Wheels and equipment feet should be cleaned before entering protected areas. Even a small stone lodged in a caster can cut through a covering and scratch the flooring beneath it.
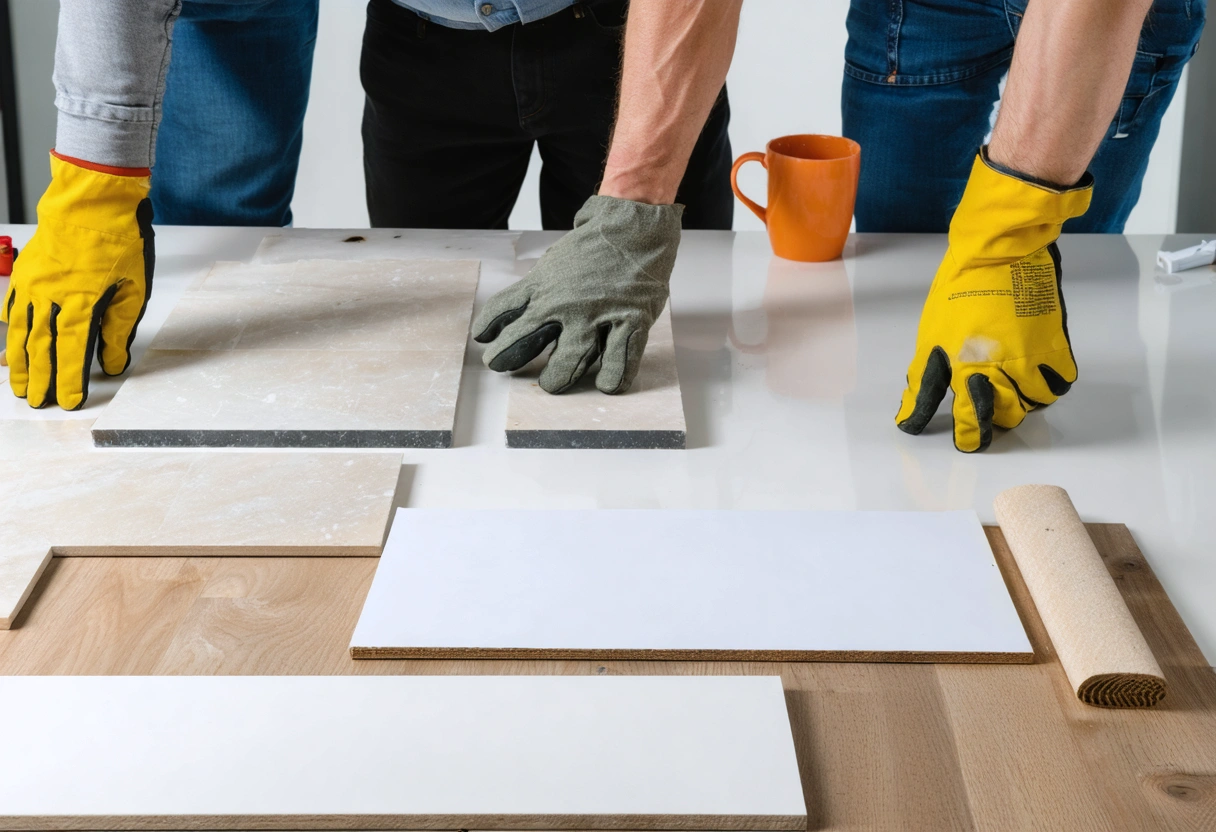
Control Sand, Dust, and Moisture at Entry Points
Protective coverings are most effective when contaminants are stopped before they reach finished areas. Southwest Florida construction sites frequently contain sand, fine drywall dust, landscaping soil, and moisture.
Each active entrance should have a designated cleaning station with durable walk off mats, a place to brush or wipe footwear, and a method for cleaning cart and dolly wheels.
Keep cutting and mixing operations away from finished rooms
Tile cutting, wood trimming, drywall sanding, mortar mixing, and similar activities should occur outside or in a designated unfinished area whenever possible. Airborne particles can settle inside grout joints, along baseboards, and beneath protective materials.
If work must take place indoors, the area should be isolated with dust barriers and appropriate ventilation or dust collection equipment. Finished floors near the work zone may require overlapping protection and sealed seams.
Respond to spills immediately
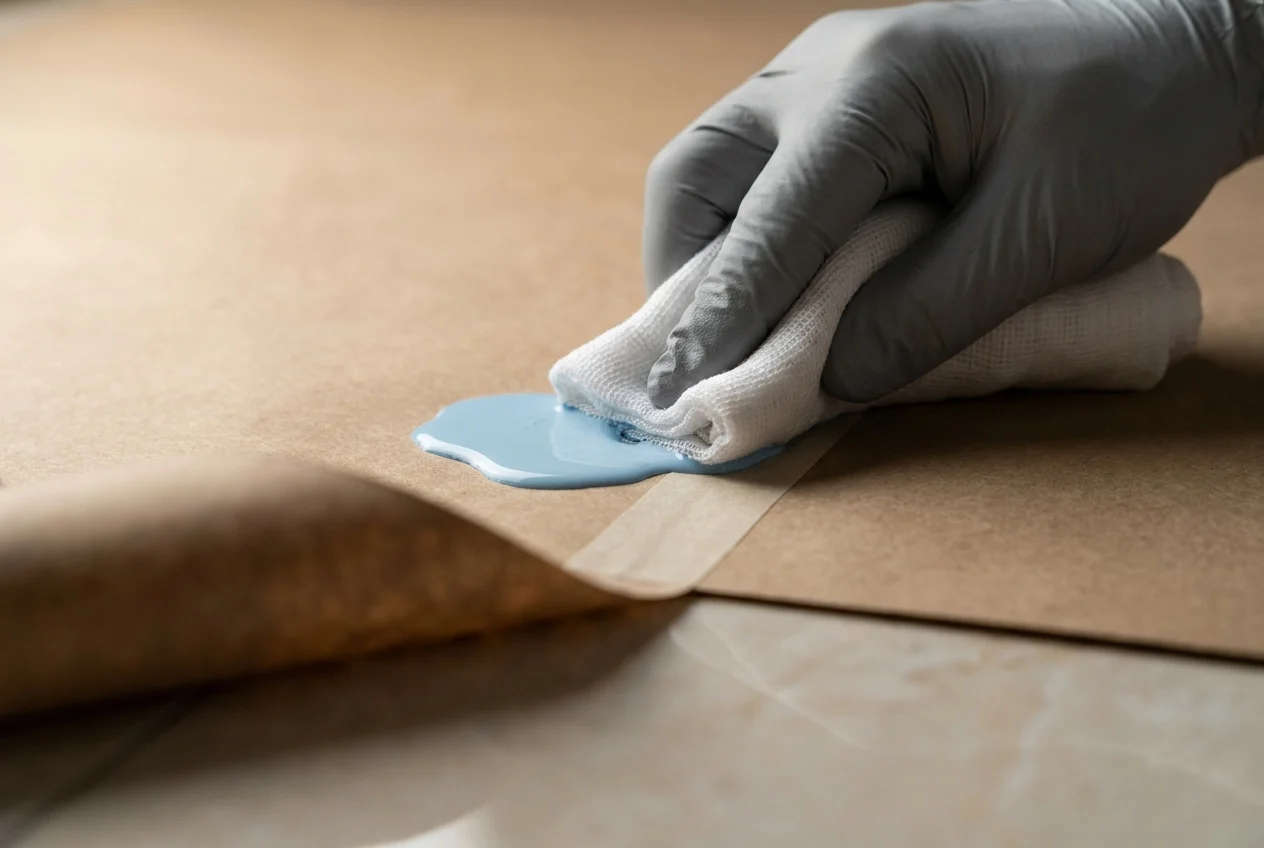
Paint, solvents, adhesives, grout colorants, oils, and cleaning chemicals should never be allowed to remain on a finished surface or protective covering. A spill can seep through seams, punctures, or absorbent materials and reach the floor below.
The cleanup method must be compatible with the flooring material. Harsh chemicals, abrasive pads, metal scrapers, and excessive water can turn a minor spill into permanent damage.
Protect Walls, Corners, Transitions, and Vertical Tile
Floor coverings alone do not protect every completed surface. Finished baseboards, tiled shower walls, backsplashes, thresholds, and outside corners may be damaged as equipment and materials are carried through the property.
Transitions between tile, carpet, luxury vinyl plank, hardwood, and exterior surfaces are especially vulnerable. A loaded cart striking an exposed transition strip can bend the profile, loosen fasteners, or chip the adjoining material.
Shield showers and backsplashes from unrelated work
Newly tiled showers should not be used for washing tools, disposing of liquids, or storing construction materials. Cement residue, paint, metal tools, and chemical cleaners can stain tile, scratch fixtures, or damage grout and sealant.
Backsplashes near cabinet, countertop, plumbing, and electrical work may require temporary impact protection. Outlet installation and fixture adjustments can produce metal shavings, dust, and tool marks.
Establish Clear Rules for Every Trade
A written protection plan helps eliminate confusion about who may enter finished areas and how those spaces should be used. The construction manager should explain the approved traffic routes, storage locations, equipment restrictions, and cleanup responsibilities before each trade begins work.
Simple rules can prevent many common problems. Food and beverages should remain out of finished rooms. Tools should be placed on padded mats rather than directly on the floor.
Assign responsibility for maintaining protection
Protective materials require regular attention throughout the remaining construction schedule. Assigning one person or team to inspect and maintain the system helps prevent gaps in coverage.
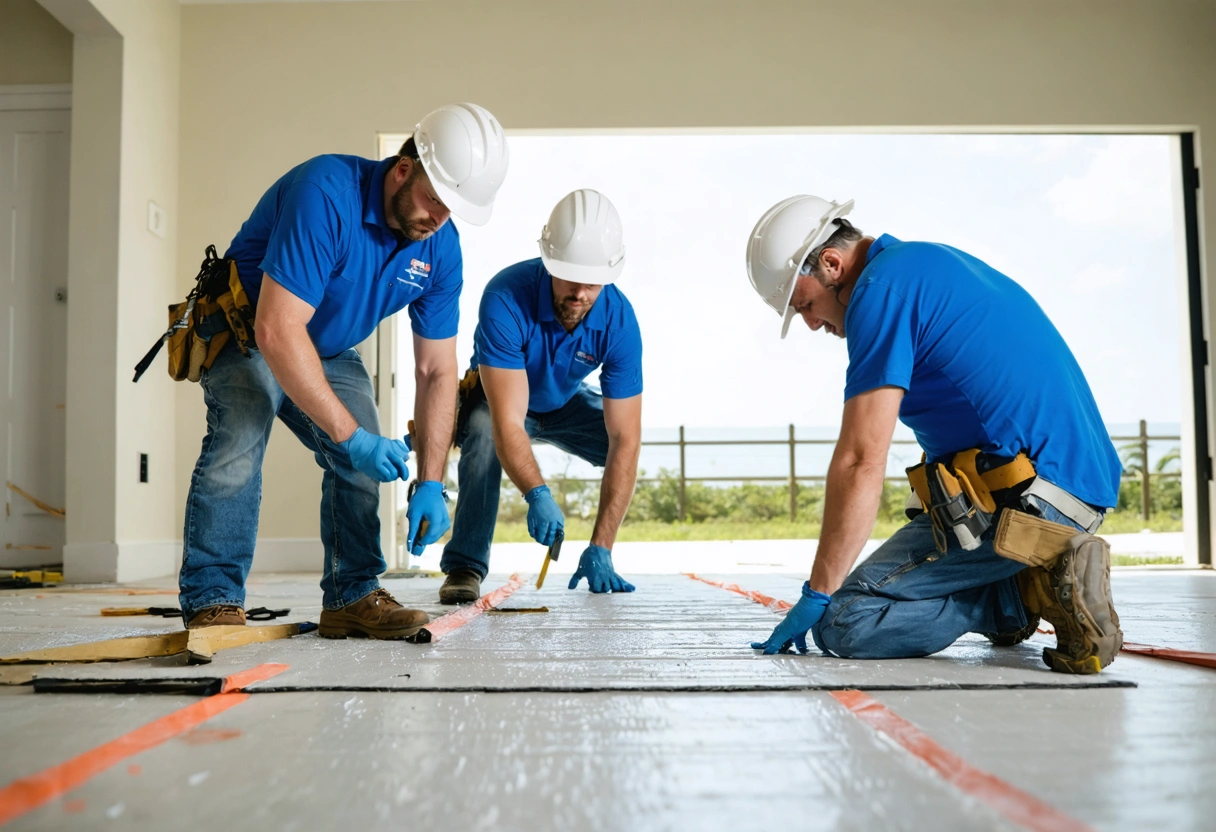
All trades should report damaged protection immediately. Workers should not make improvised repairs with unsuitable tape, dirty cardboard, or materials taken from another area. Replacement protection should match the original surface requirements and restore complete coverage before work continues.
Inspect Protected Areas Throughout the Project
Daily inspections can identify small issues before they become costly repairs. Check for shifted coverings, punctures, curled edges, moisture, trapped debris, and exposed flooring. High traffic routes and active work zones may need to be inspected several times during the day, particularly when large deliveries or equipment moves are scheduled.
Do not assume that the floor is safe simply because the top of the covering appears clean. Fine sand can enter along walls, doorways, and unsecured seams.
Document incidents and changing conditions
Photographs and written notes can help project teams track the condition of finished surfaces and protective materials. Documentation is especially useful before and after appliance delivery, countertop installation, painting, final plumbing work, and other activities that create elevated risk.
If damage is discovered, record its location and condition before moving equipment or beginning repairs. Prompt documentation helps determine the likely cause, supports communication among contractors, and allows the correct repair specialist to evaluate the problem before it worsens.
Remove Protection Carefully Before the Final Walkthrough
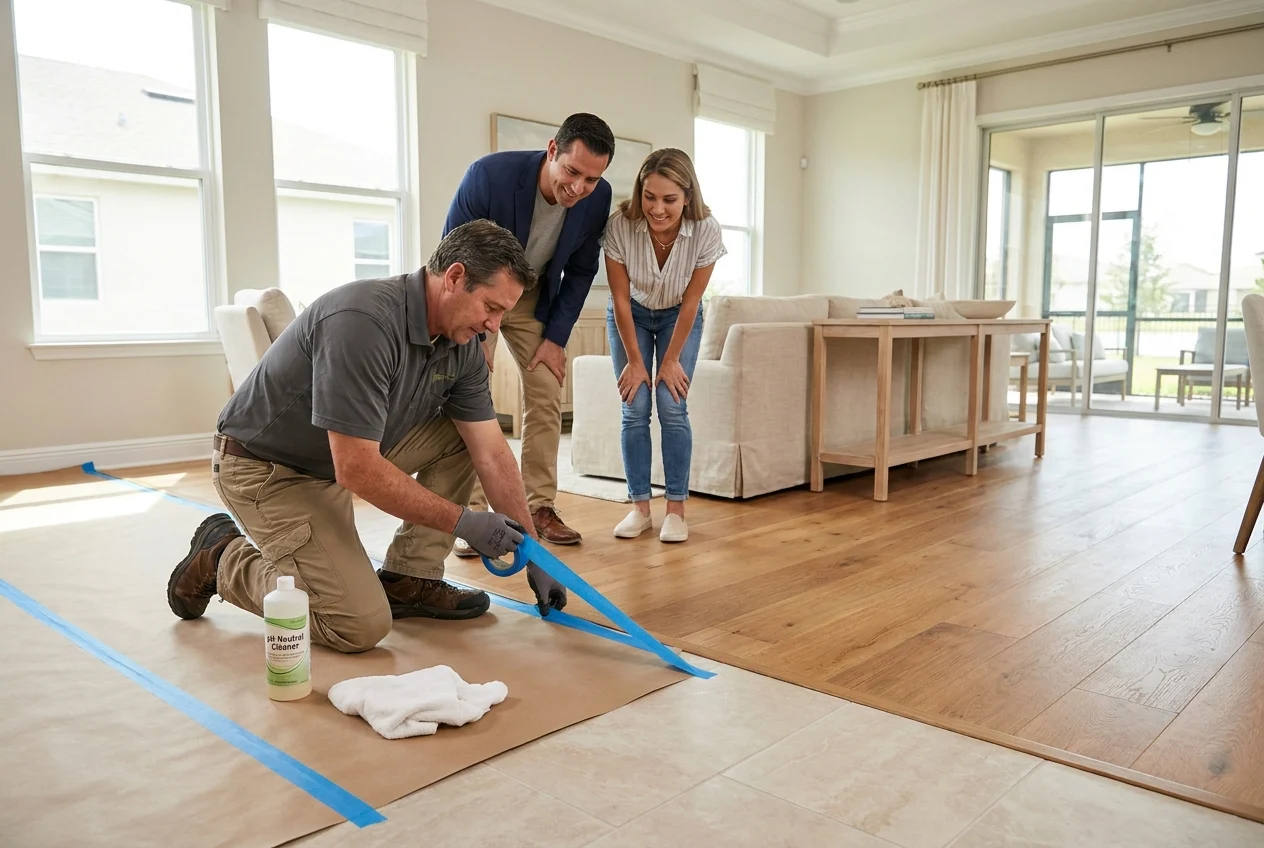
Protection removal should be treated as a controlled construction activity rather than a quick cleanup task. Dragging dirty coverings across the floor can release abrasive debris and create scratches at the end of the project.
Tape should be removed slowly and at an appropriate angle. If adhesive residue remains, it should not be scraped away with a razor or treated with an unapproved solvent.
Perform a surface specific final cleaning
After the coverings are removed, the floor should be vacuumed with suitable equipment before damp cleaning begins. Vacuum attachments should be clean and free from sharp edges.
Tile and grout may have a light layer of construction dust or grout haze, but strong acids and abrasive cleaning methods are not appropriate for every installation.
Complete a detailed final inspection
Inspect the floors under good lighting and from multiple angles. Look for scratches, chips, hollow or loose tiles, cracked grout, adhesive residue, stains, uneven transitions, missing sealant, and movement near thresholds.
Minor concerns should be addressed before furniture, appliances, or occupants make access more difficult. Repairs completed during the final construction stage can often be blended more effectively because materials and installation records are still available.
Preserve the Finished Work Through Turnover
Once repairs and final cleaning are complete, limit access until the property is officially turned over. If additional work is necessary, reinstall appropriate protection and maintain the same traffic controls used during construction.
A coordinated protection plan preserves workmanship, reduces avoidable repair costs, and supports an efficient project closeout. Floor Medix provides professional installation, repair, restoration, and surface care services for new construction properties throughout Lee, Charlotte, and Sarasota Counties.
Need help with How to Protect Newly Installed Floors and Tile During the Final Stages of Construction?

